Horizontal Heavens
Observatory
"...From A Galaxy Far, Far
Away"
Clear Sky Chart

This page was last updated on 10/08/14.
Horizontal Heavens
Observatory
"...From A Galaxy Far, Far
Away"
|
|
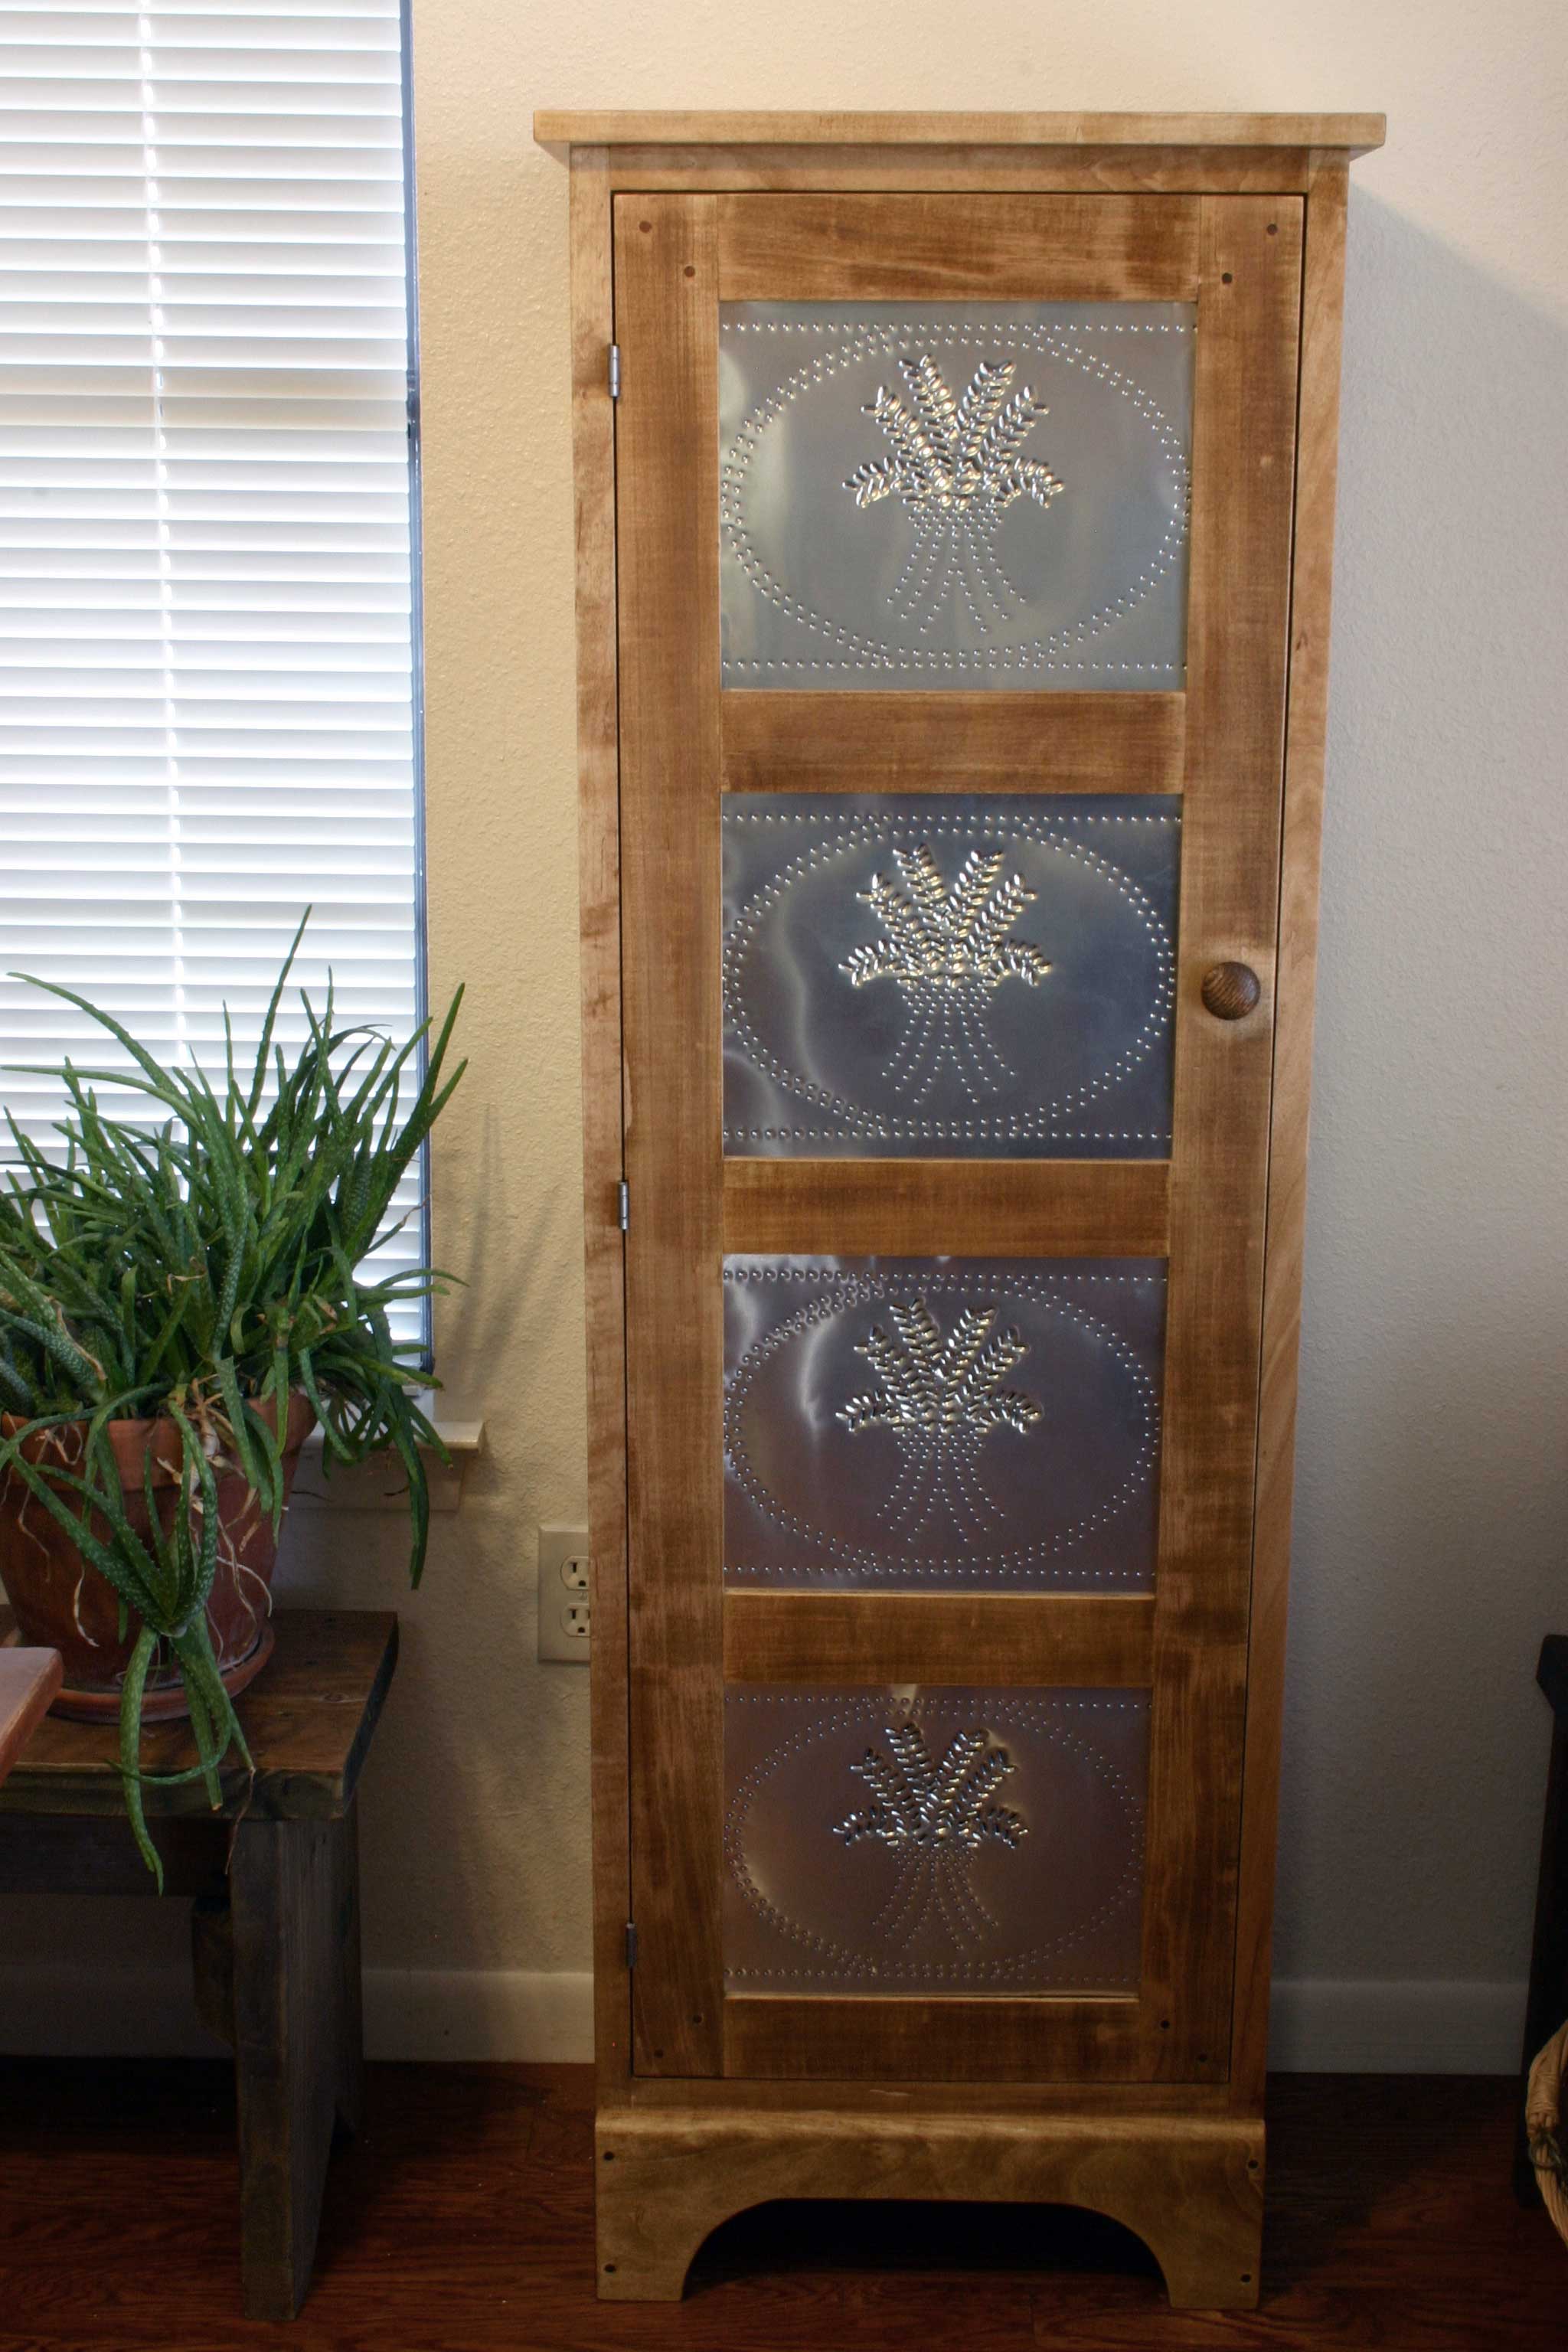
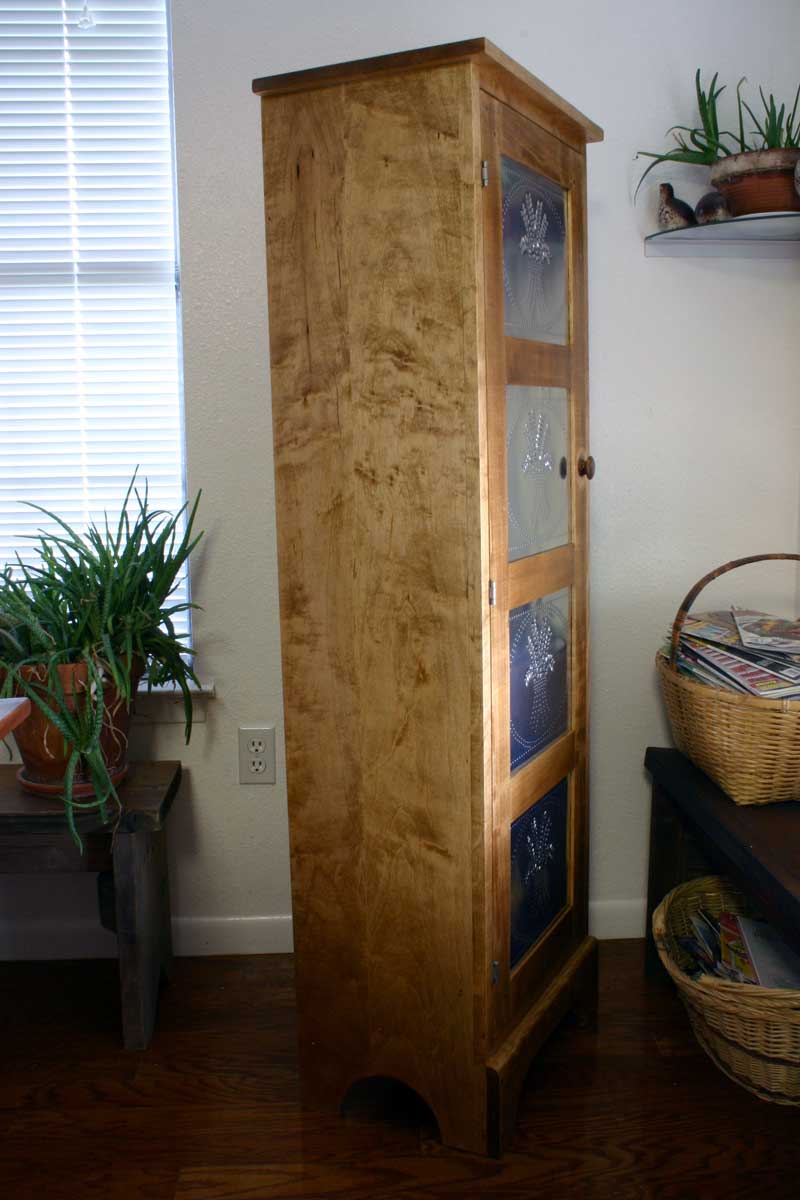
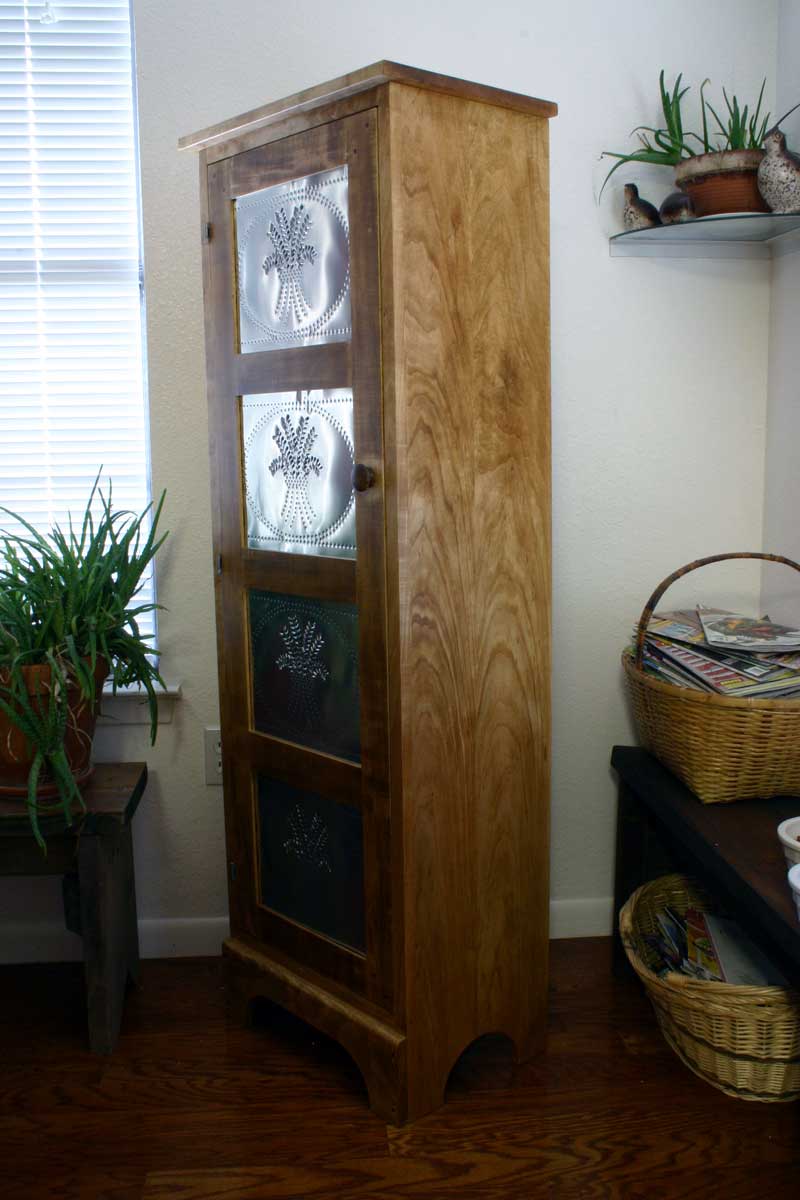
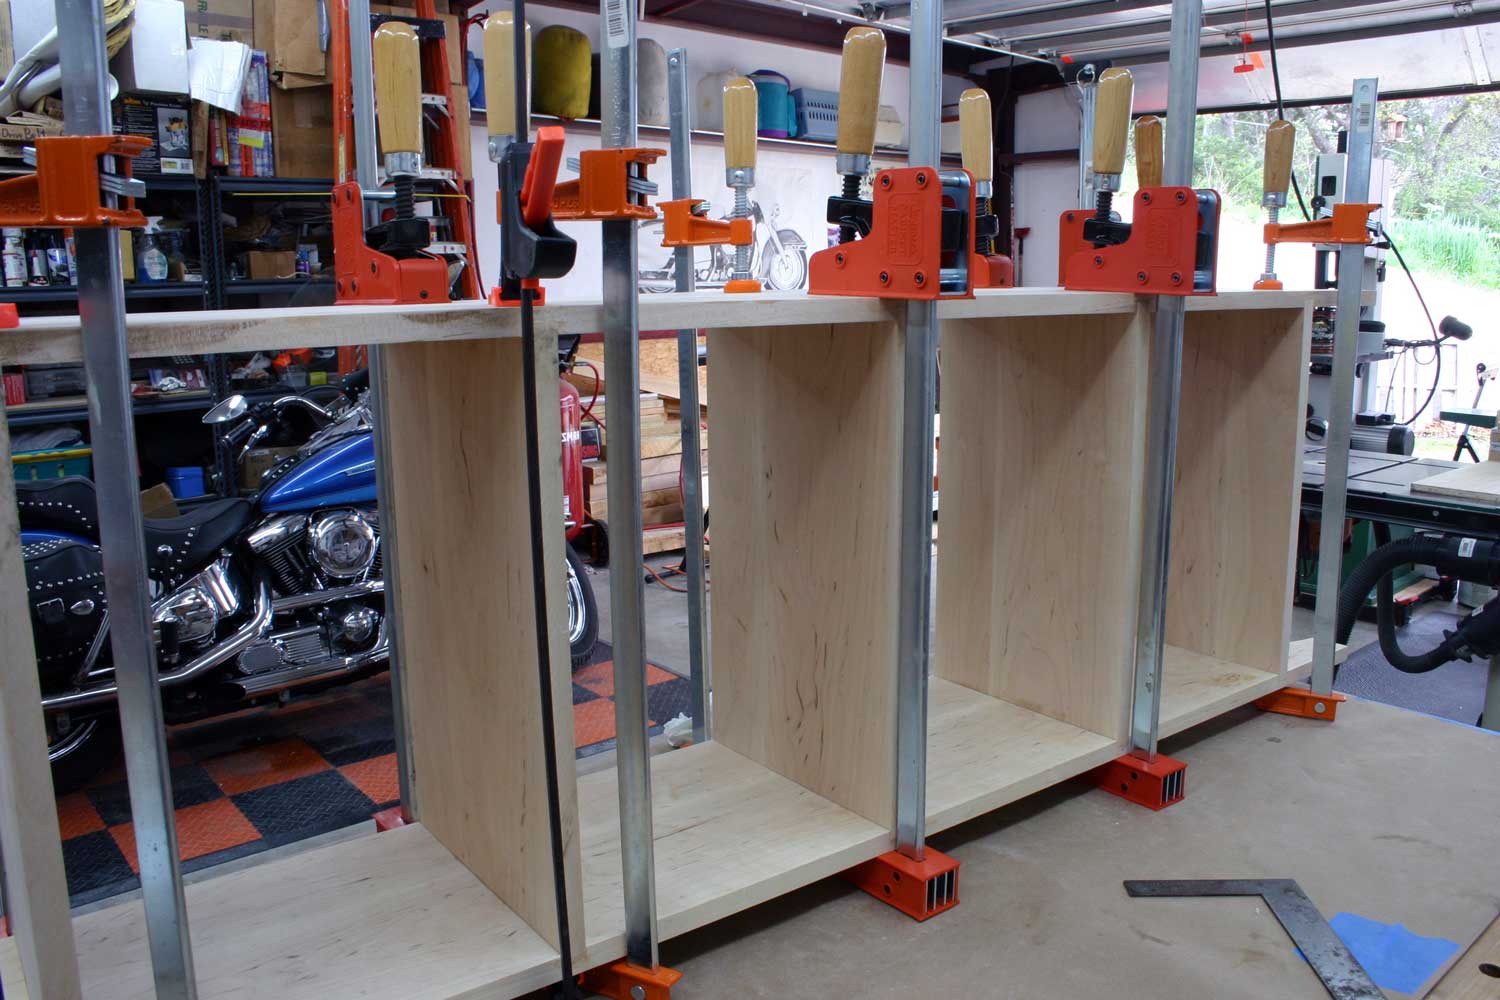
Jelly Cupboard -- Primitive Country Style in MapleCompleted March 2012 I had thought about this just a little over a month ago and decided to build this after Leslie hinted that we could actually put this primitive little cupboard to use. Just one day after moving it into the house and it was like magic! Just drag your mouse over the image of the cupboard below and you will see what I mean! We ALMOST didn't have enough room in the cabinet, and it was brand spanking new!
I built this using Soft Maple and am very pleased at how the finish has turned out, though I did think that it was going to be a bit more golden/yellowish than it did. I pre-conditioned the wood with Minwax Pre-Stain Conditioner before staining and that did help with controlling blotching on most of the project, particularly the sides. On the front door blotching became more of an issue. I think this was because of the way I resawed the 12/4 boards in order to have quarter-sawn pieces for the door. When doing this, two issues became troublesome, the resawn boards warped more than expected and staining was quite different. Having the choice of either stripping the stain completely from the door, I decided to "go-with-the-flow" in that I decided to do some antiquing/distressing to the front door in order to make the cupboard look older and/or more early American. I distressed the door by selectively sanding and stripping the finish until I got what I felt like was a "reclaimed/refinished antique" look. I did NOT want to do this to the entire project because I really liked how the grain and texture of the finish looked elsewhere and I only wanted to "hint" that this cupboard could have been made much earlier. After all, these cupboards were new at sometime in their lives, so having a nice finish could have been how some of these old pie safes and jelly cupboards started their lives.
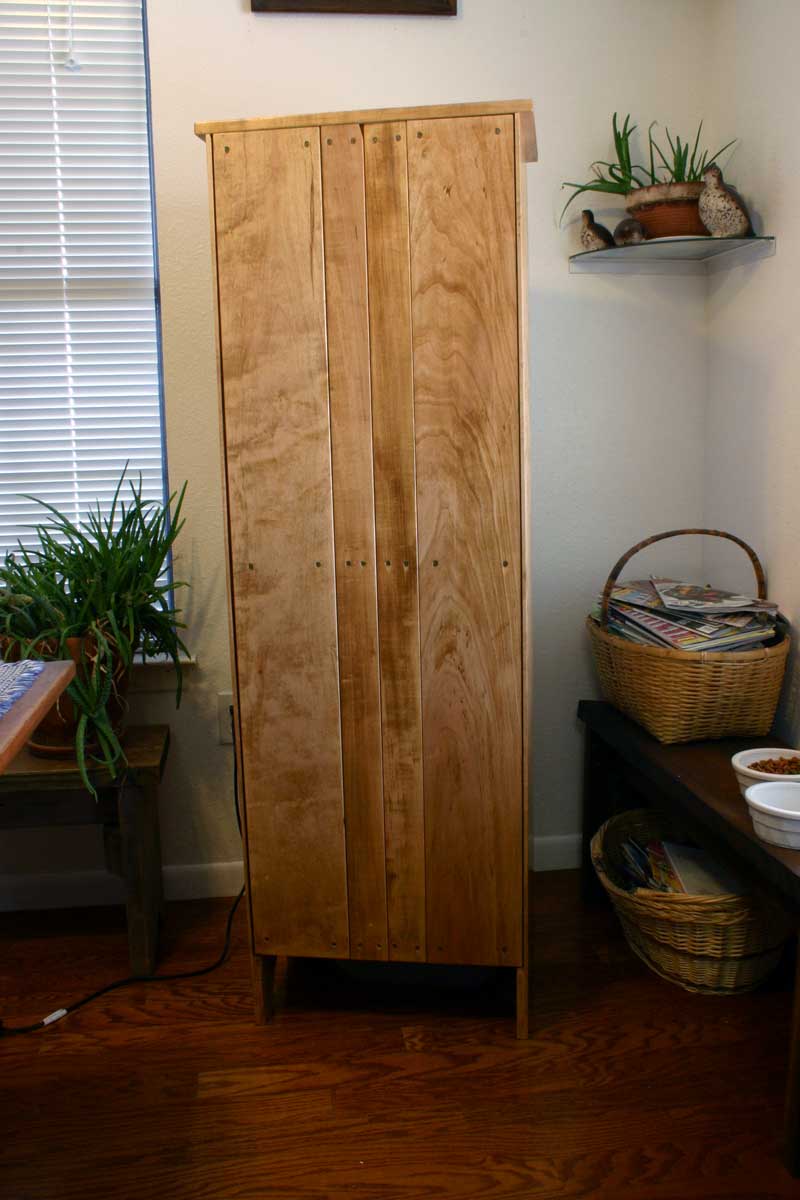
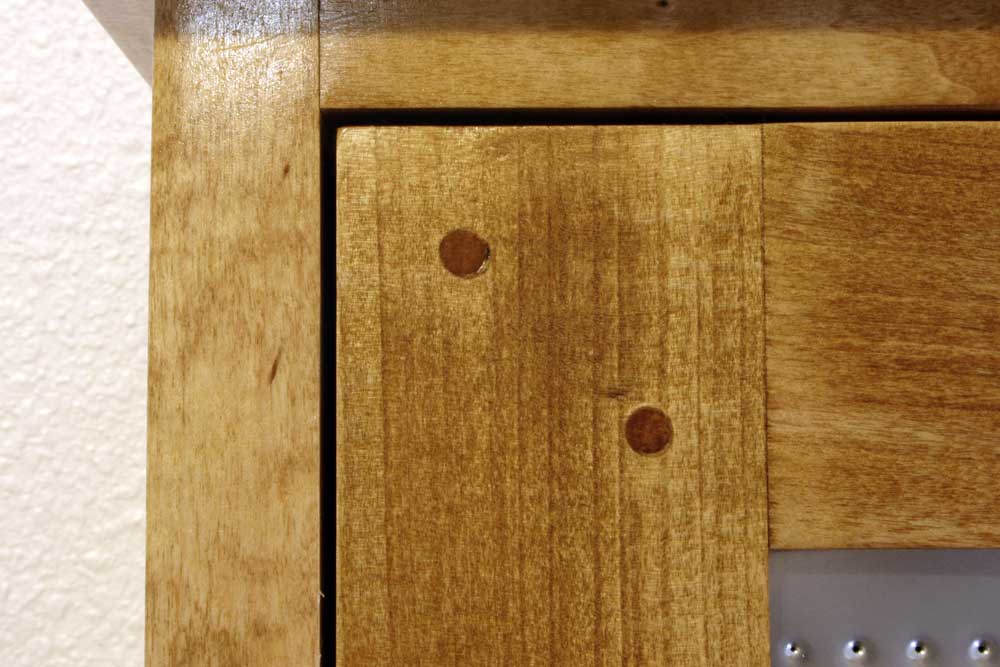
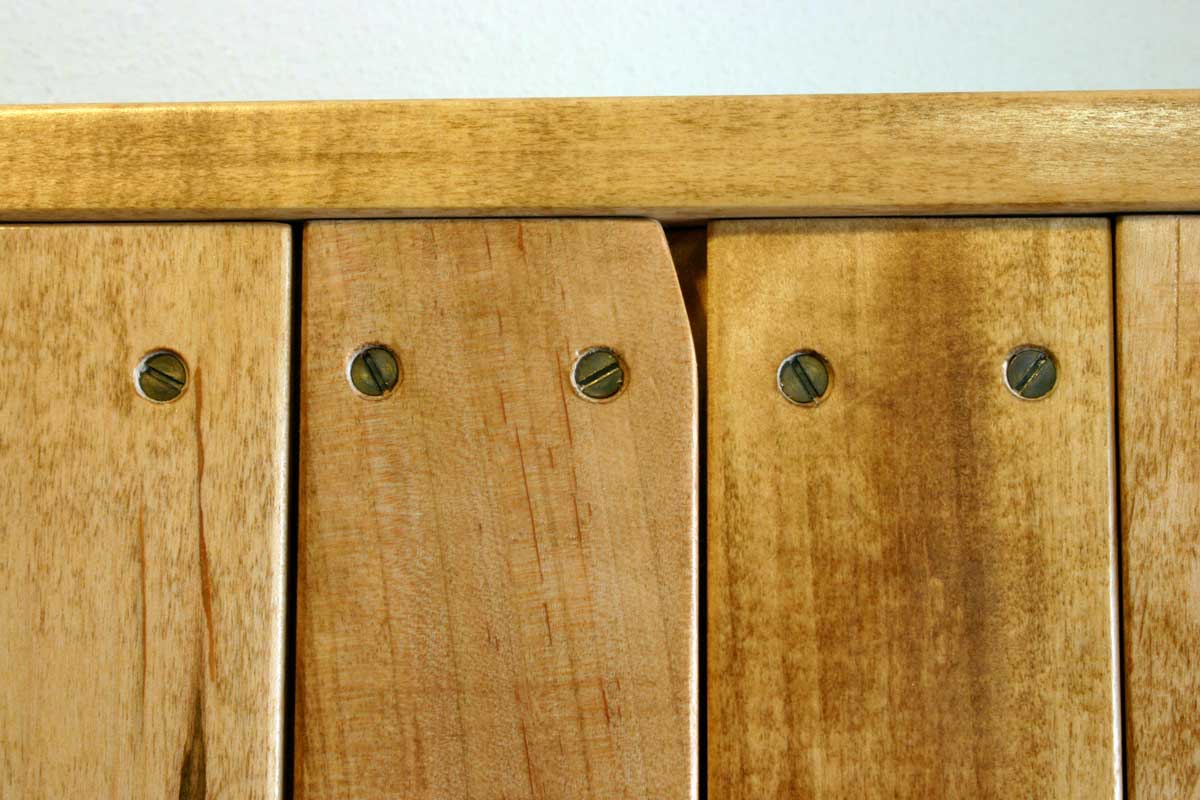
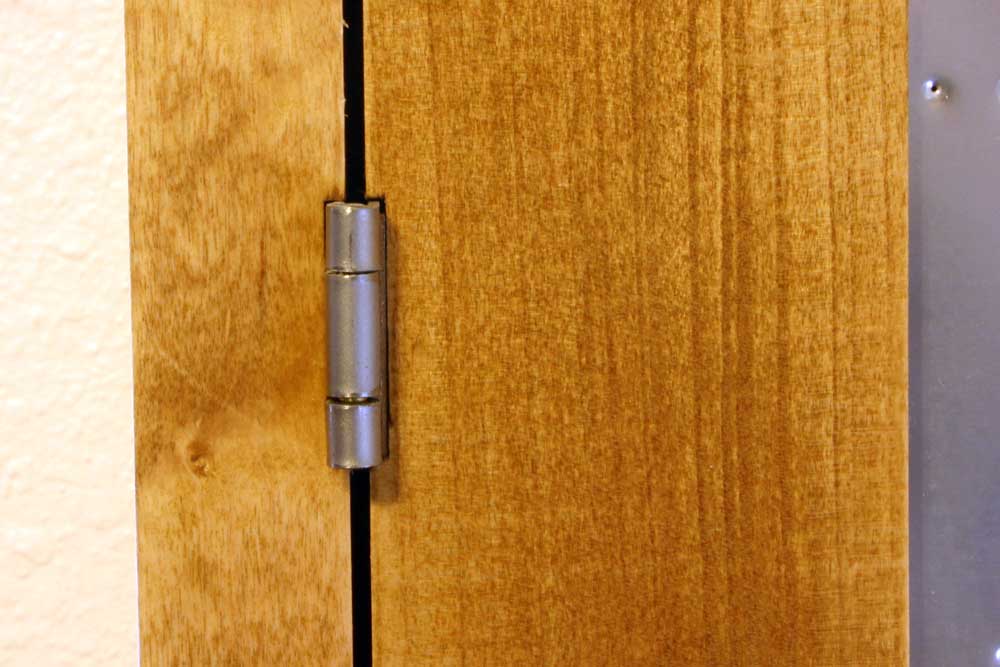
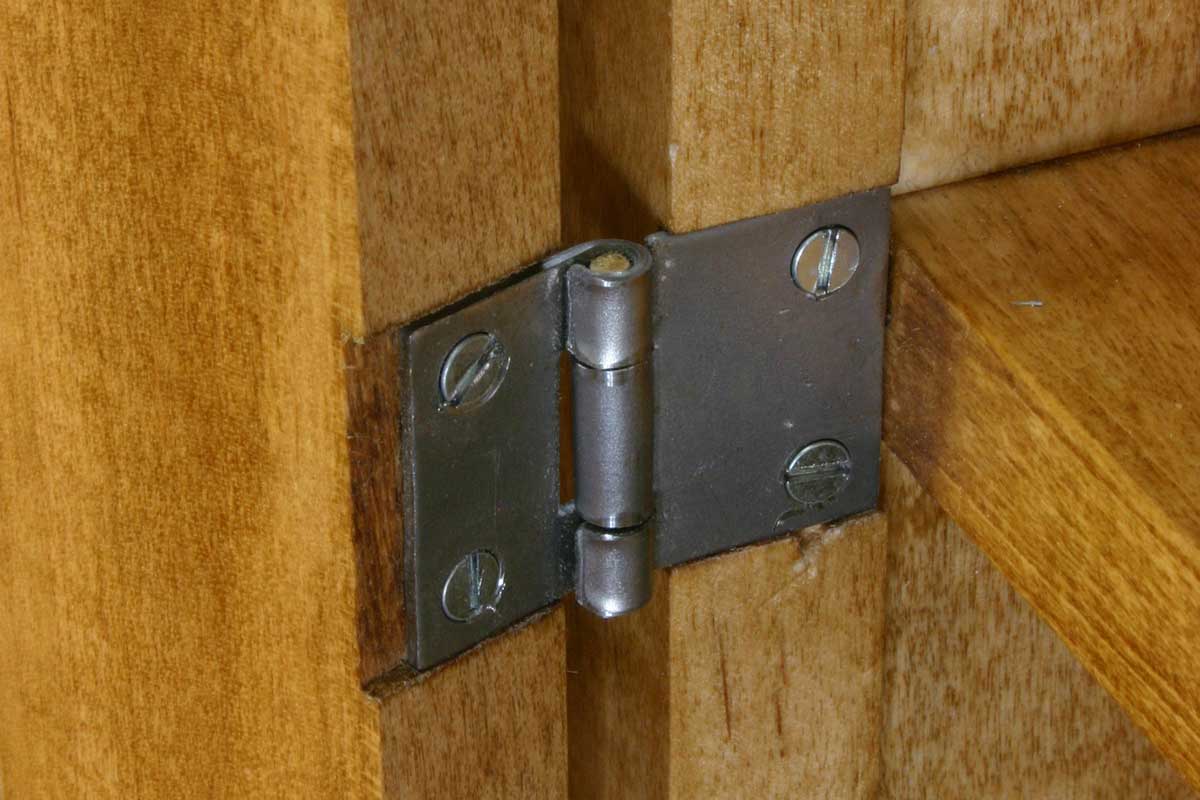
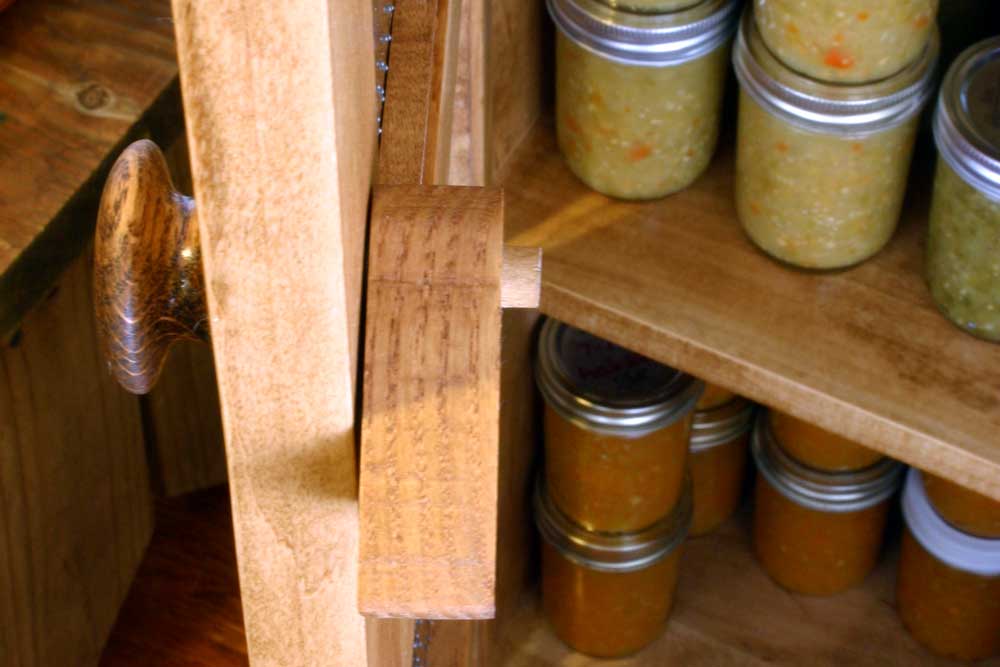
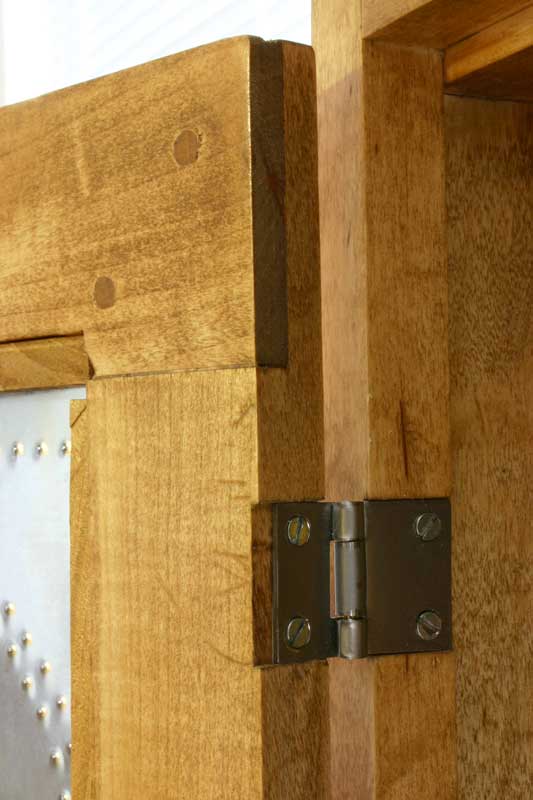
I threw in some late 19th to early 20th century methods and hardware in order to lend a greater air of authenticity to the cupboard. The dowel joinery and wooden latch came from the "Woodsmith" magazine article/plans that I followed though it was my idea to hunt down some more authentic hardware. I found the old school #8 uncoated steel screws and authentic 1in. "Hoosier" butt hinges at Kennedy Restoration Hardware in in Indiana. Some of the screws appear to be hand slotted and some are even off center, just as would have been expected back in the late 1800s. The back boards of the cupboard are ship-lapped and gapped appropriately in order to allow for seasonal swelling/shrinking, just as the originals were built. Yep... I did finish the boards on the back side of the cupboard but at least I think all of the other "period" additions/modifications I made help with the "feel" of owning a bit of history.
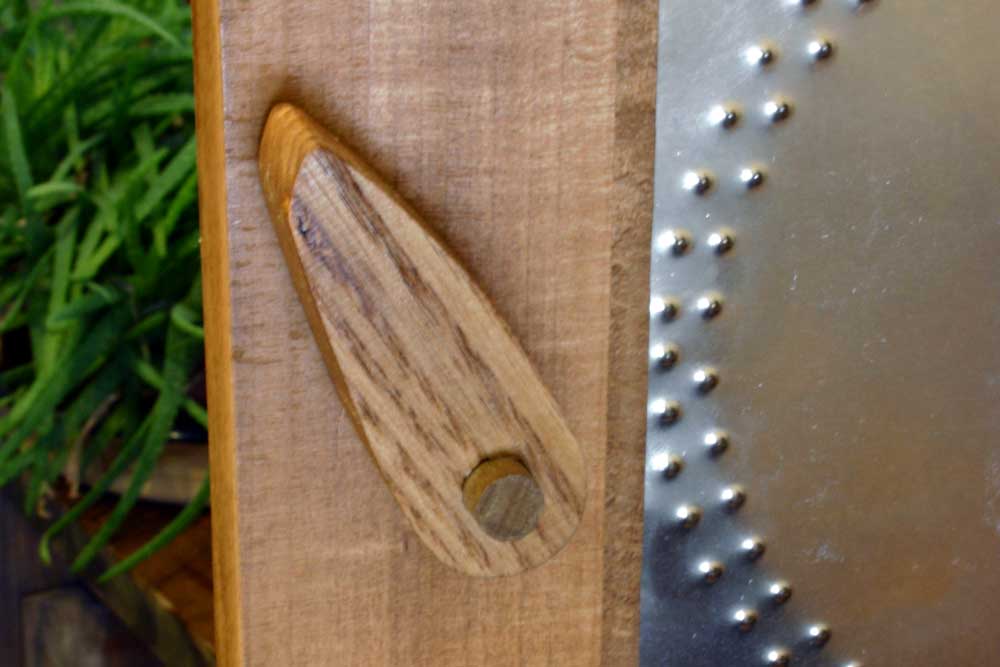
I bought the Oak knob and dowel, though I fashioned the locking latch for the door. Not quite according to the "Woodsmith" plans, but functionally the same.
Part of my distressing of the front door, to make it look older, included sanding a "wear" ring pattern around the knob in order to make it look well used.
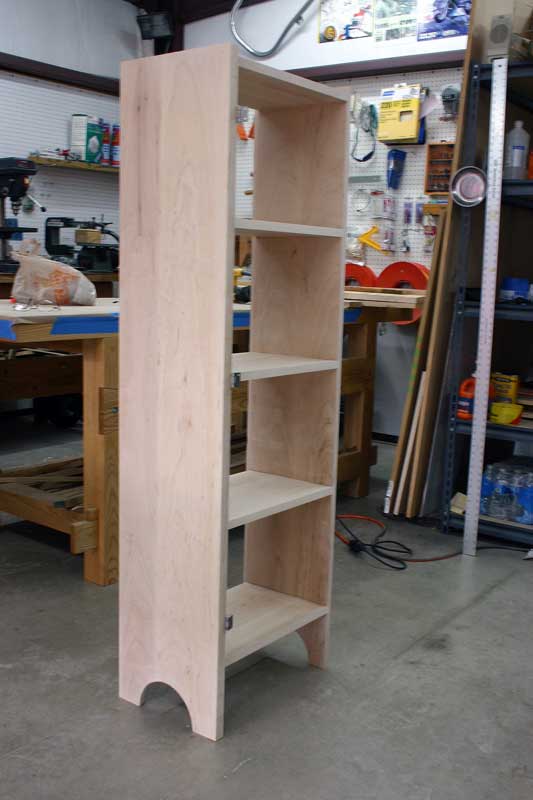
I didn't take too many images during the build as I was busy just wanting to get it built quicker than my last project and just enjoyed the daily progress I was making.
|