Horizontal Heavens
Observatory
"...From A Galaxy Far, Far
Away"
Clear Sky Chart

This page was last updated on 10/08/14.
Horizontal Heavens
Observatory
"...From A Galaxy Far, Far
Away"
|
|
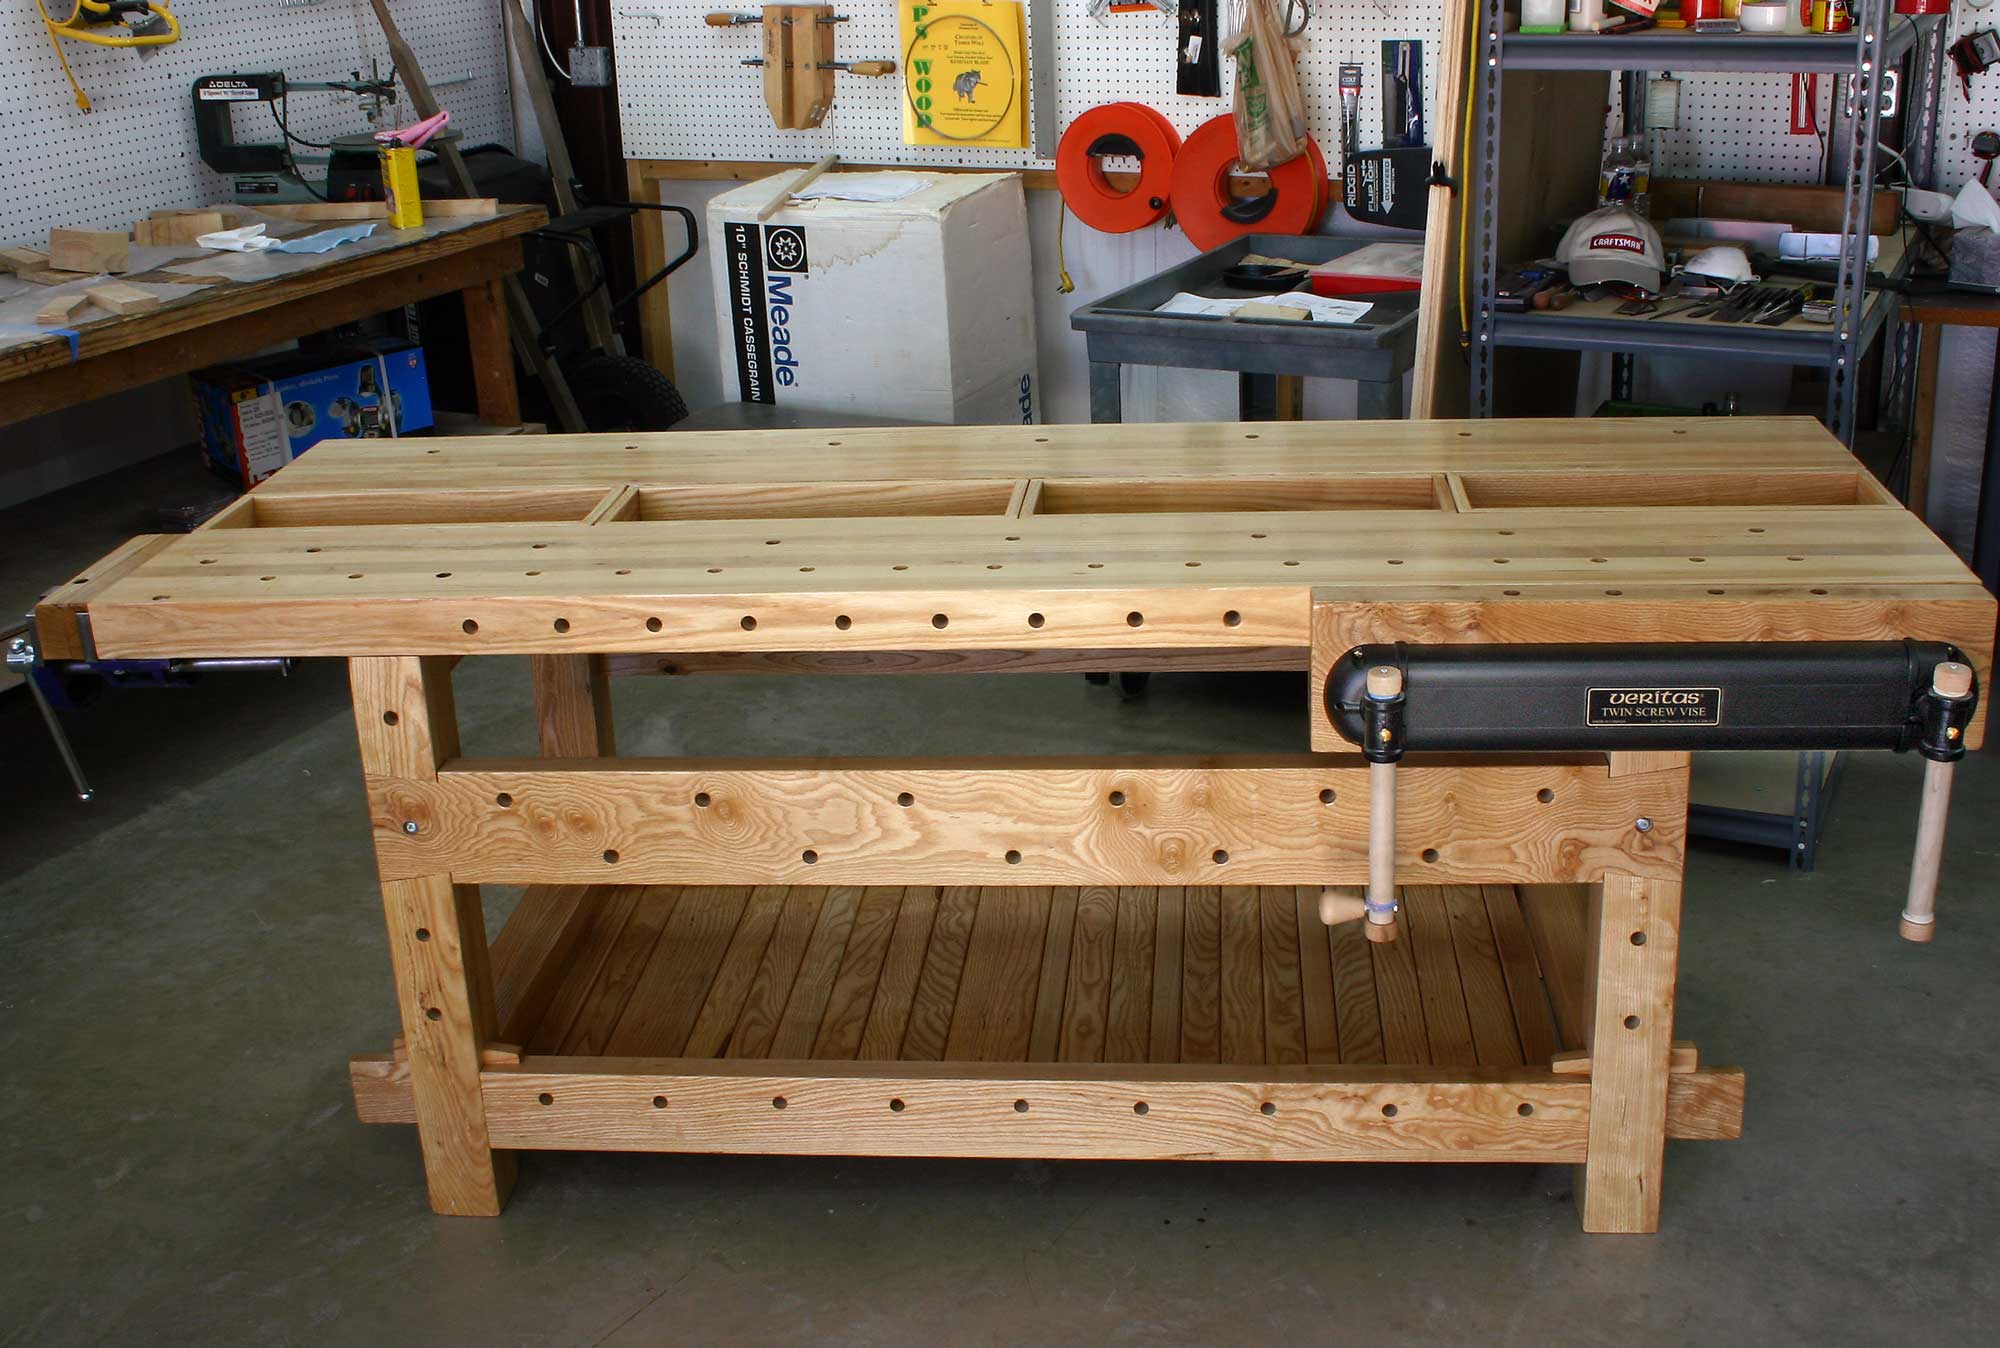
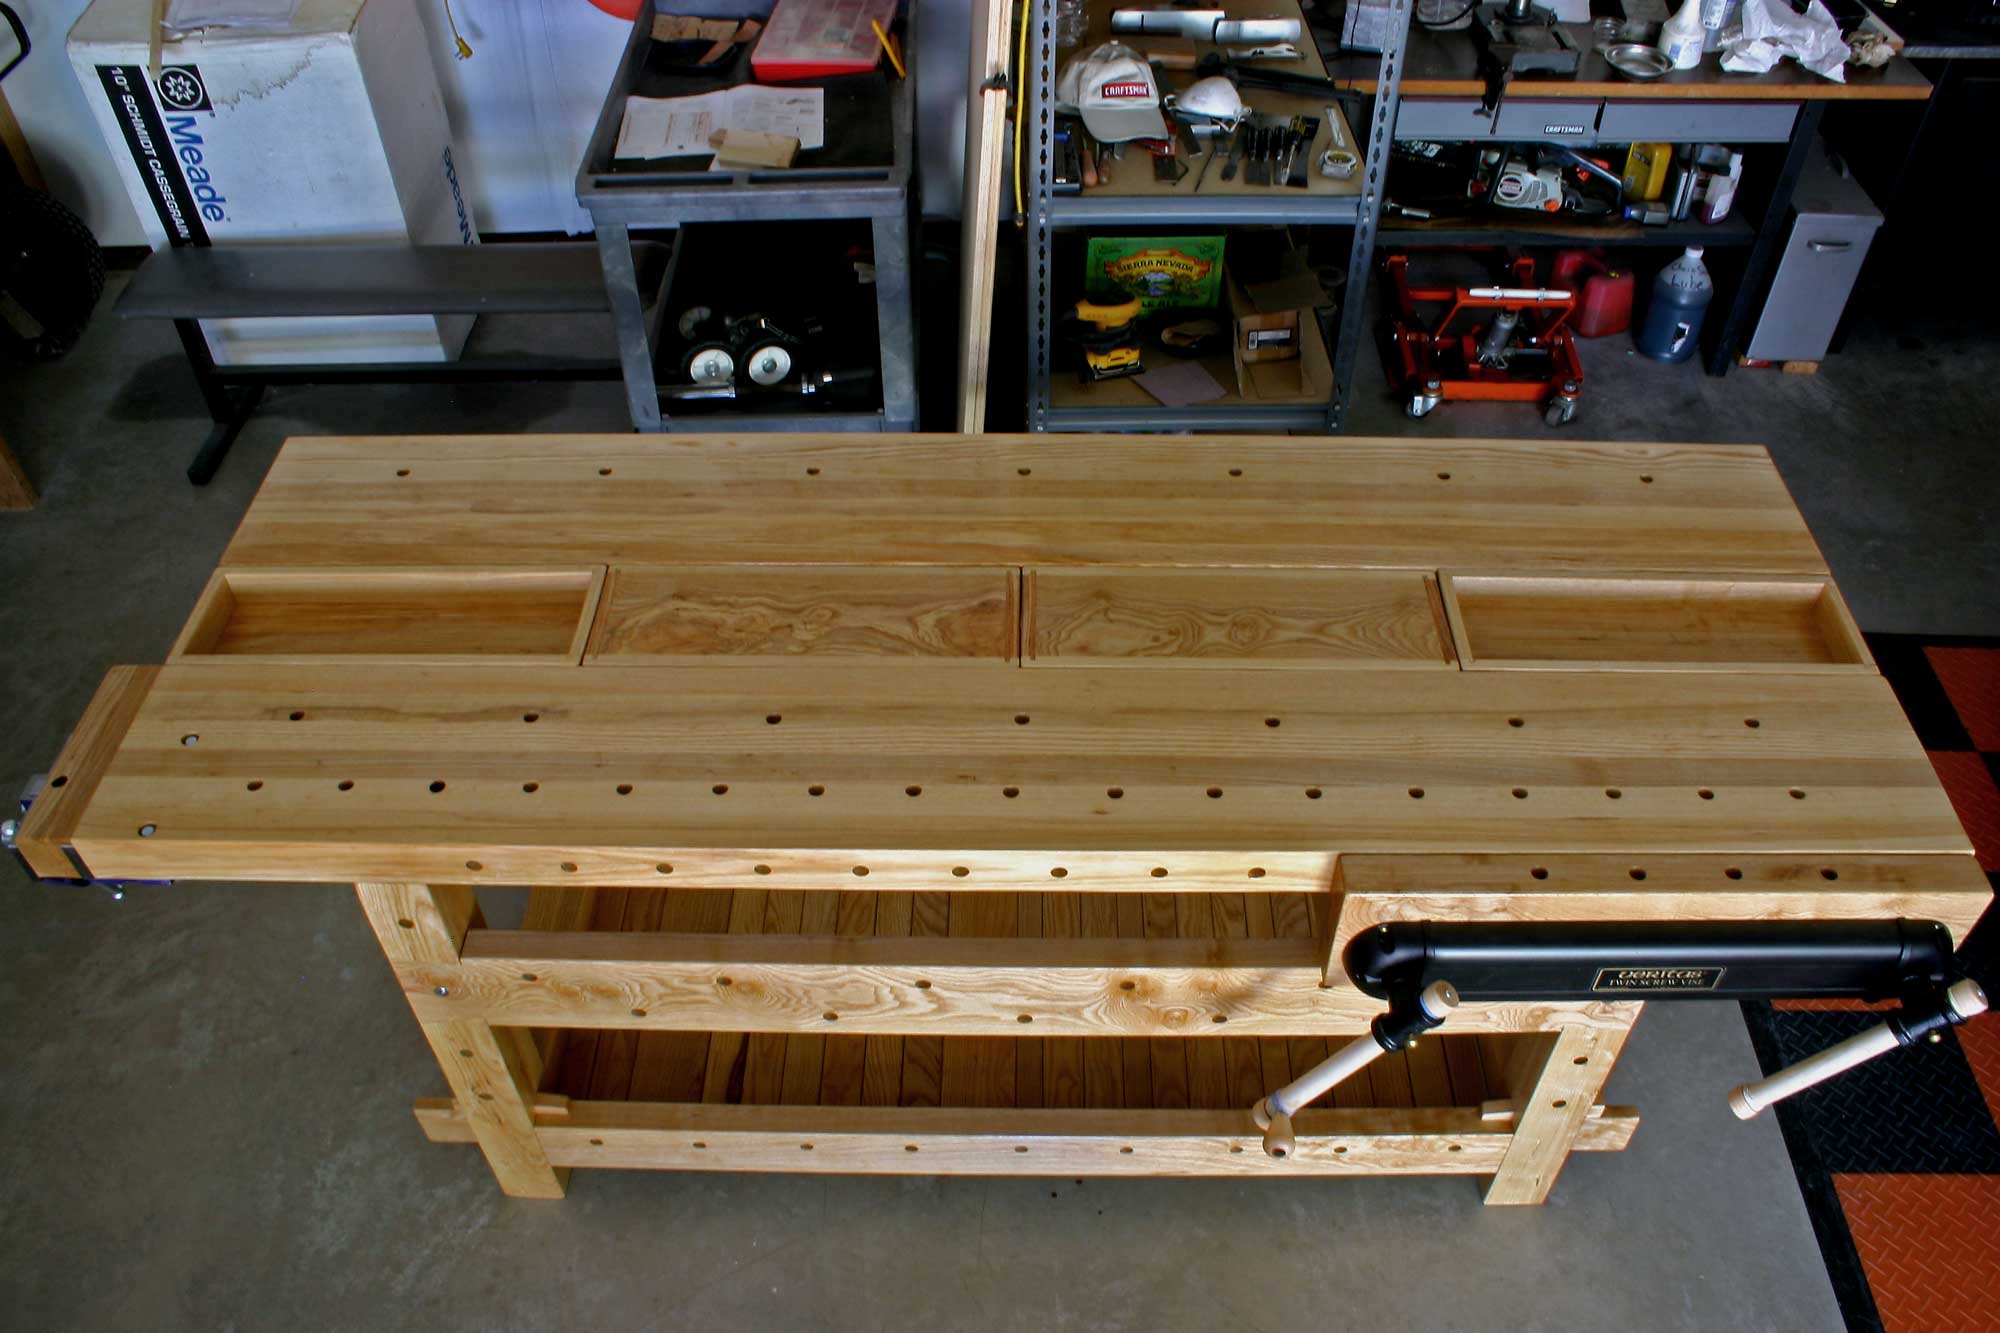
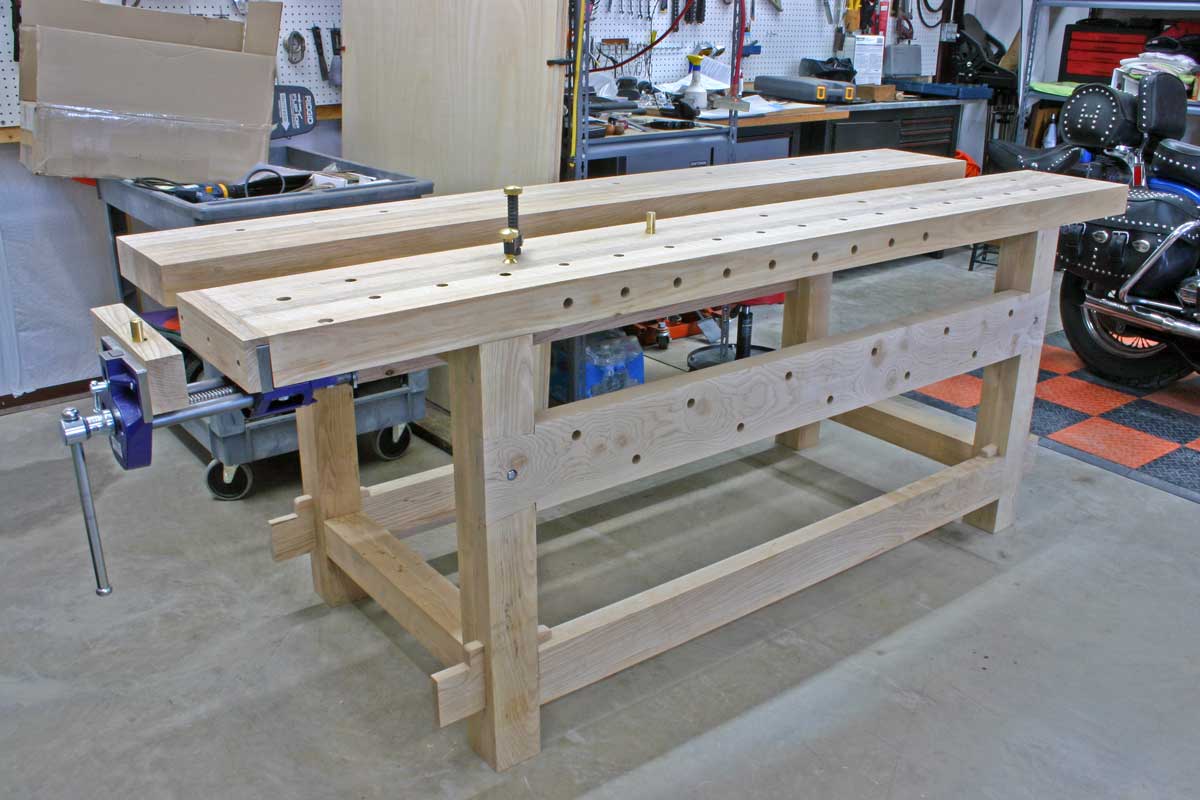
21st Century Workbench Project
I finally got my first major project completed, Bob Lang’s 21st Century Workbench. I made this version specifically for Lefties, as I put the face vise on the right and tail vise on the left. This turned out to be a very good First Project for me as it exposed me to constructing with tongue and groove, dovetails, and through mortise/tenon joints all in one project, not to mention all the milling of 8/4 Ash and thick laminate glue-ups for the top working surface. Great experience for building those skills for the first time. One word of caution when tackling this project, the article in October 2008 issue of Popular Woodworking has a number of measurement errors, so pay attention to the SketchUp model for accurate piece measurements. Other than that, this project was pretty straight forward. Modifications I made from original plans (more than just making it for lefties) include: 1. Face Vise Block—I made the block just over 3in. thick and recessed the screw sleeves 1/2in. to regain some of the vise opening. I had originally wanted to bolt this thing on so that I could remove it and have the ability to send the top through the planer again when it would need re-flattening, however I realized that I was really just over-thinking this and went ahead with a solid glue-up of the block. What I like about the thicker block is that as a laminate, it will have less tendency to warp and I feel that is important in a vise block. Why 3in.?...I originally had a nearly 4in. block but had to plane it down to miss all the dog holes in the top but wanted a maximum glue surface for strength. 2. Tail Vise Block—Here I chose to surface mount the tail vise and build the block out of three cut pieces of Ash. This allowed me to keep my one and only 3.25hp router in the table AND not risk messing up the end of my bench top learning to freehand route 8-). I also think that it will be easier to replace this tail vise block if/when I damage it from clamping something I shouldn’t (like motor parts off my Harley and such). 3. Lower Rail Cleats—I didn’t like the way a smaller cleat screwed to the bottom of the lower rails looked so I decided to use a full width 1”x3” cleat, glued up flush to the front of the lower rail, and planed it smooth. I think it will work great and it gives the lower rail a beefier look to match that of the upper rails. HorizontalMike -- "Woodpeckers understand..."
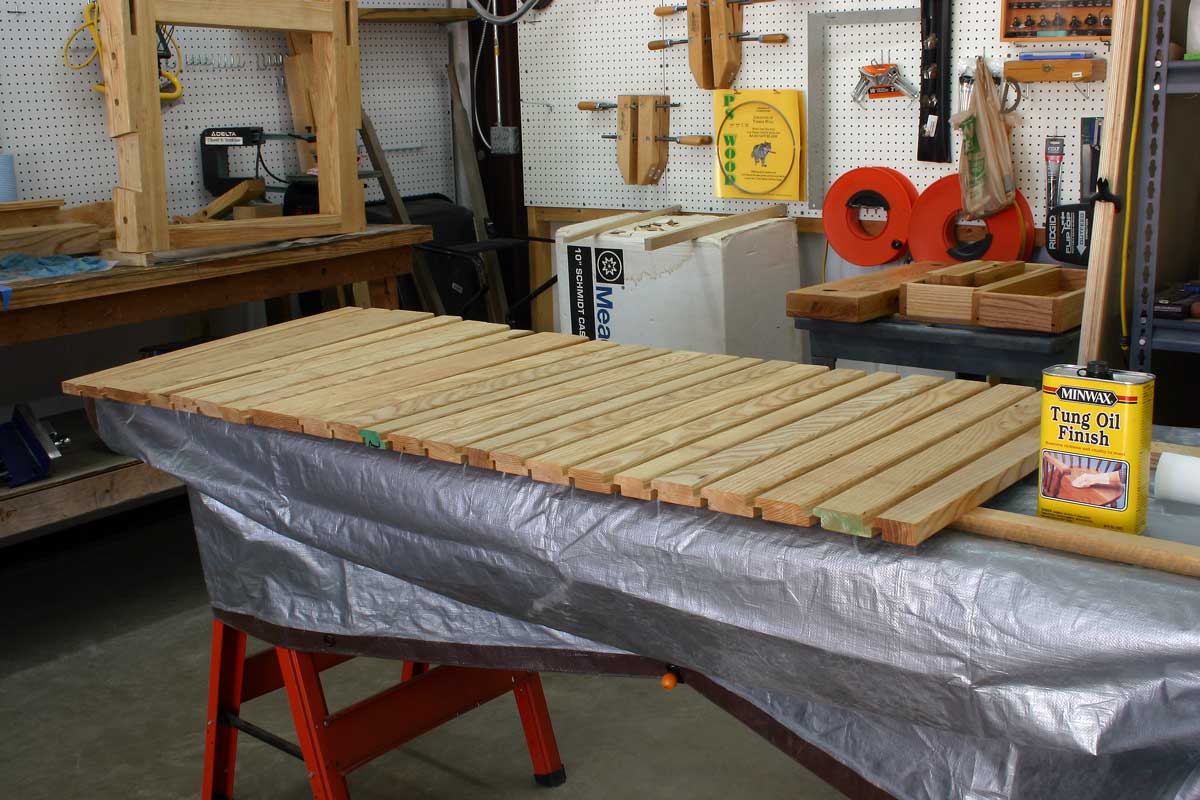
Finish-Coating The Bench - Minwax Tung Oil Finish being applied on various parts. The top, rails, vise chops and trays all received 6 coats. The final finish will be a healthy coat of Johnson's Original Wood Wax to help protect against glue sticking during assembly. The remainder of the bench will probably get just 2 or 3 coats since less protection is needed in those low-contact areas.
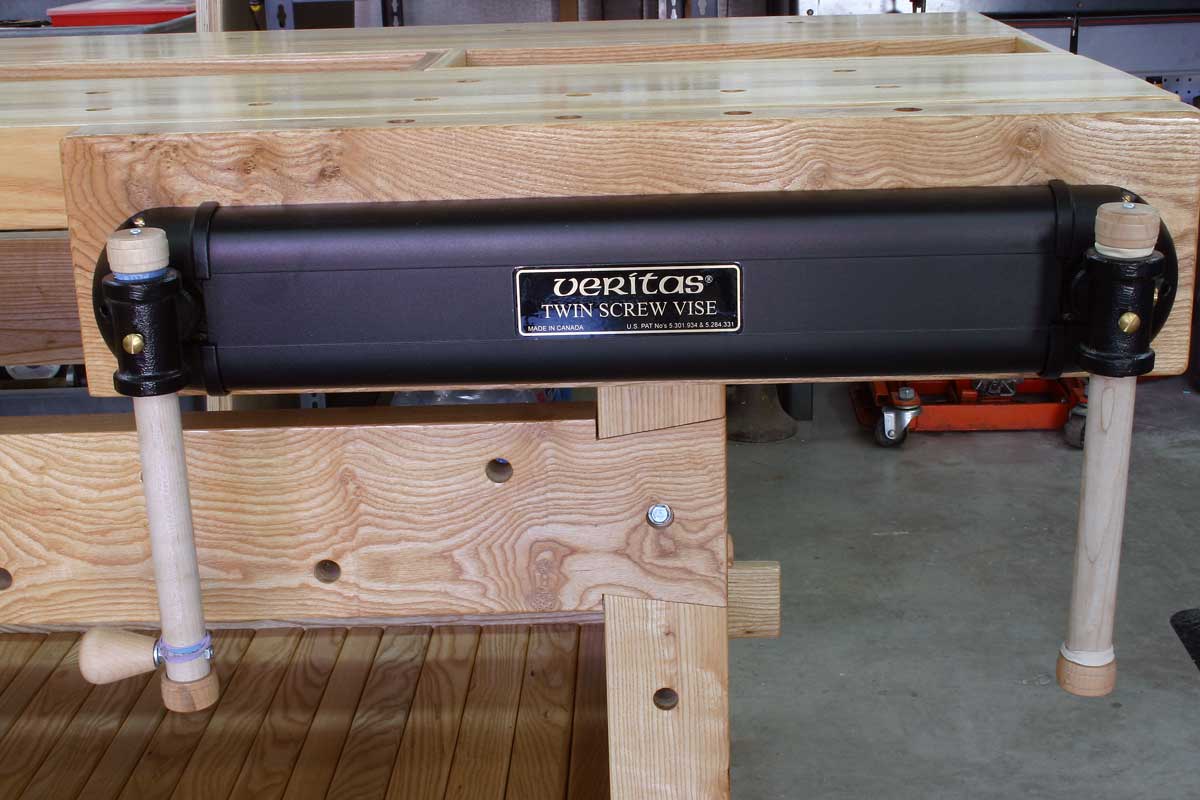
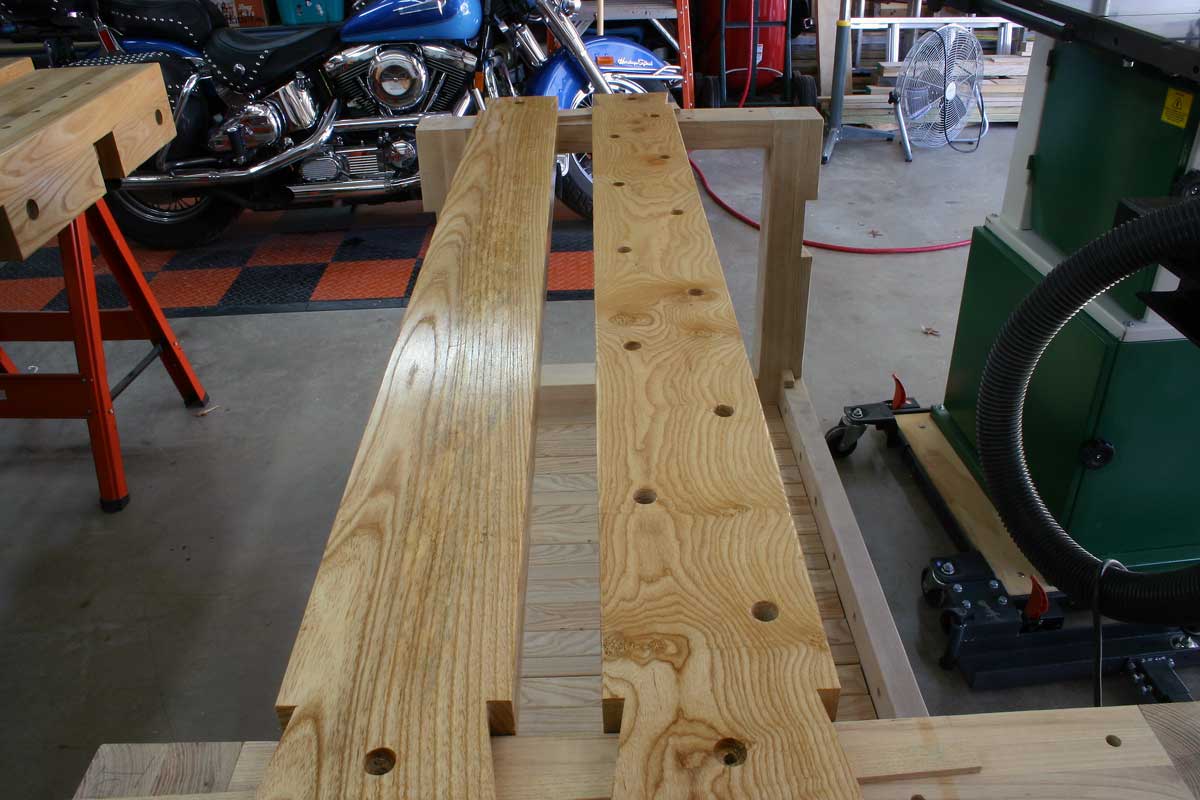
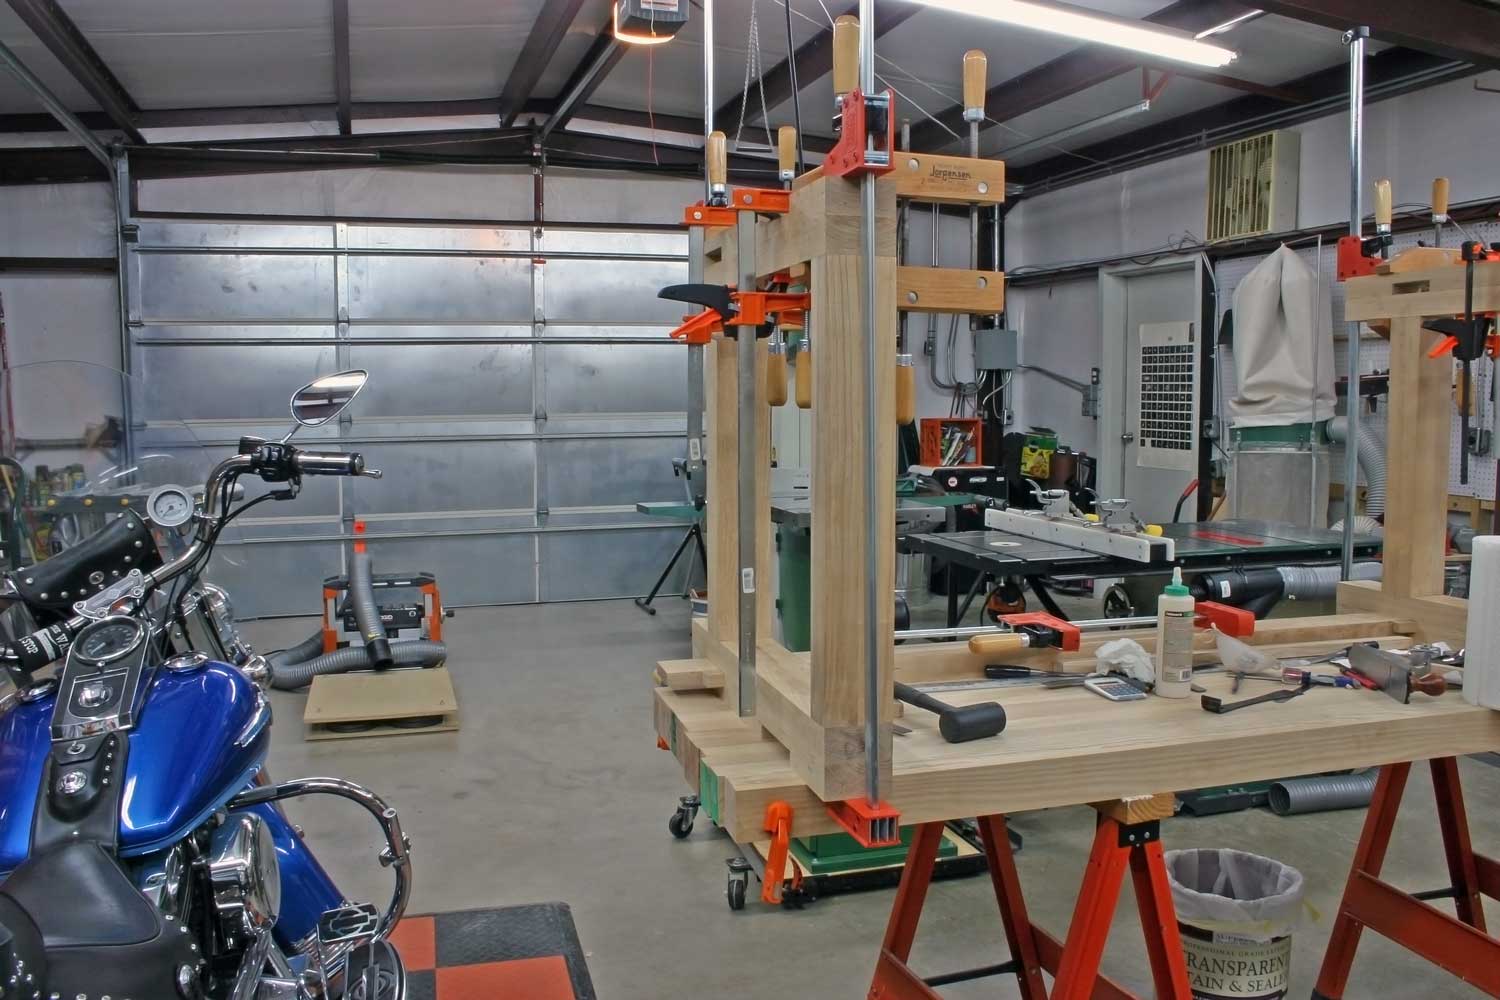
Progress On The Bench - On the lower left, I am using Minwax Tung Oil Finish on the bench shiplap shelving as well as the rest of the bench. This a mixture of Tung Oil and varnish that wipes on easily and is thus easier to control total sheen and coverage. On the lower right, I am probably 80% complete at this point. Still need Dog Holes in lower rail and both front legs. Need to build the face vise block and chop (using 24" Veritas twin screw vise), also need to build the center tool trays.
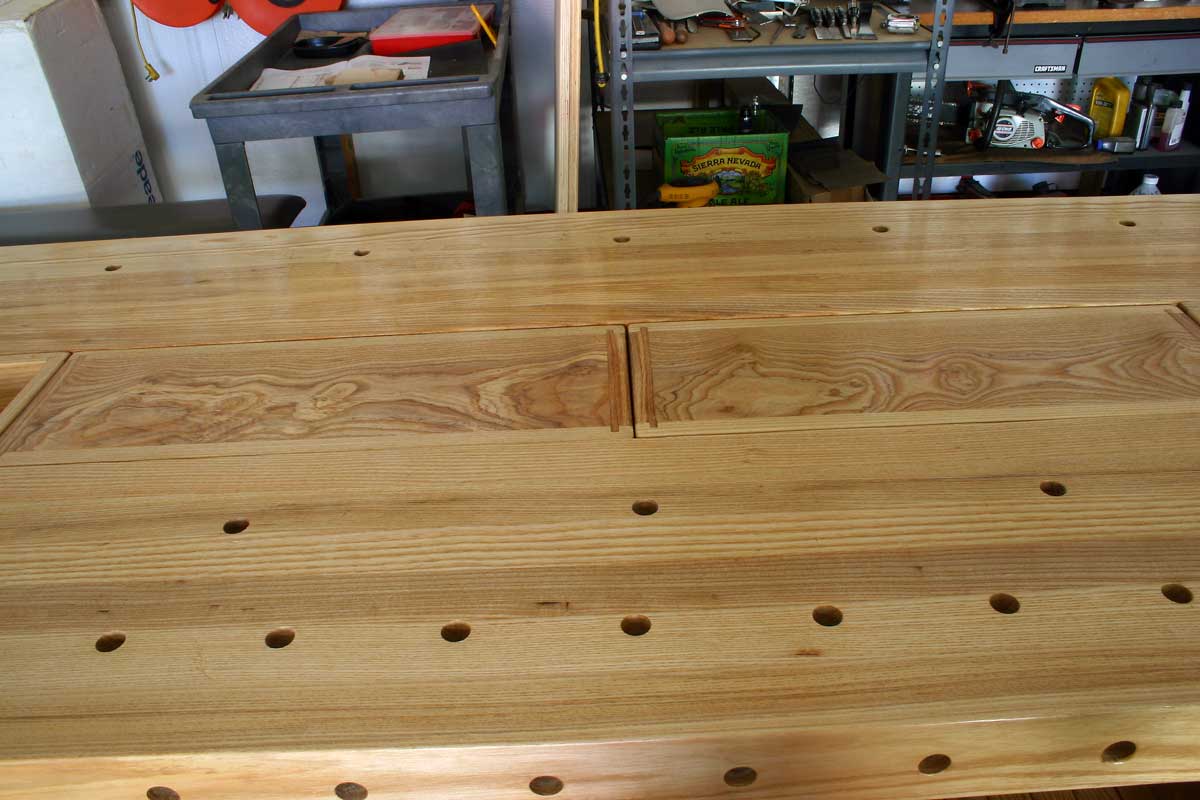
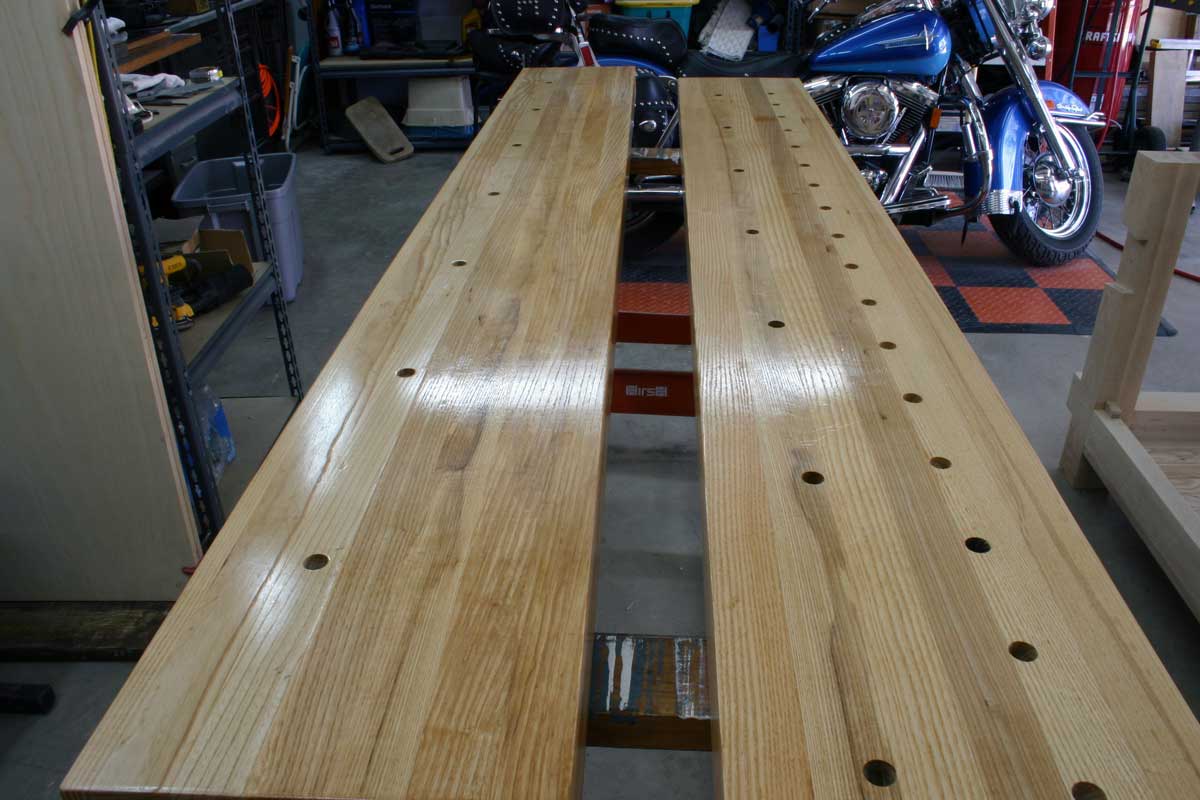
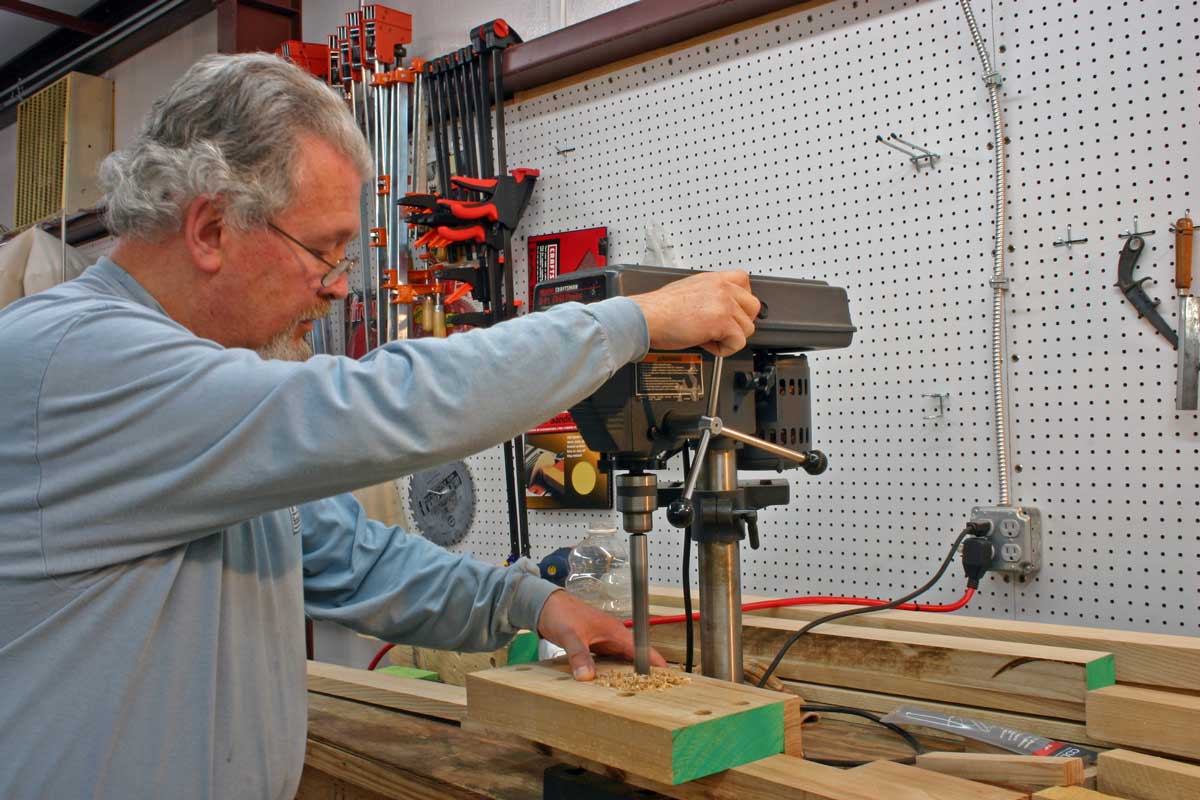
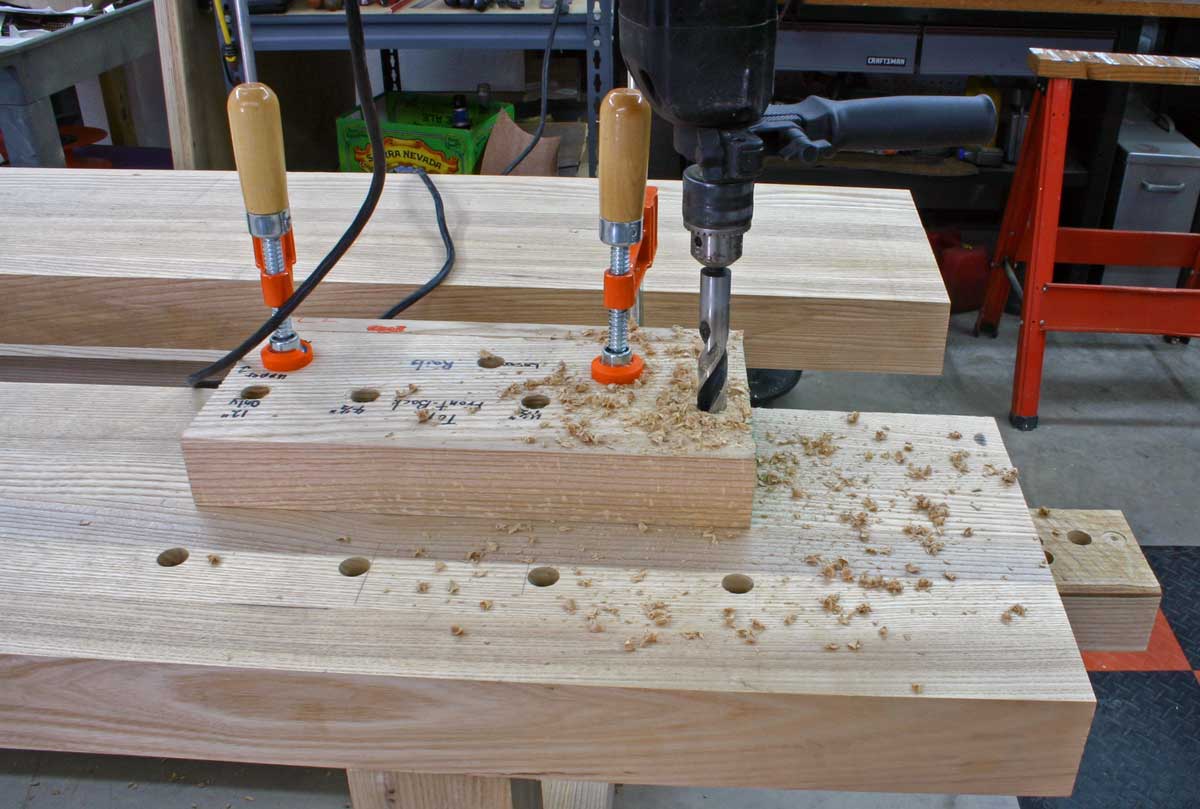
Dog Hole Drilling Template - Since I do not own a large drill press (only the 1/3hp 8" seen) I had to get creative in order to accurately drill all the 3/4" Dog Holes all over the bench, hence the template and a 1/2" hammer-drill in drill-only mode. On the far right of the right image you can see the sacrificial piece clamped underneath the bench top to protect it from the 3/4" drill bit from ripping out the bottom of the bench top (hidden but very useful). The biggest challenge using my 1/2" hammer-drill was keeping the RPMs low in order to NOT burn the 3/4" brad-point bit. Drycote lubricant really came in handy and was applied for every second hole. Made drilling much easier and efficient.
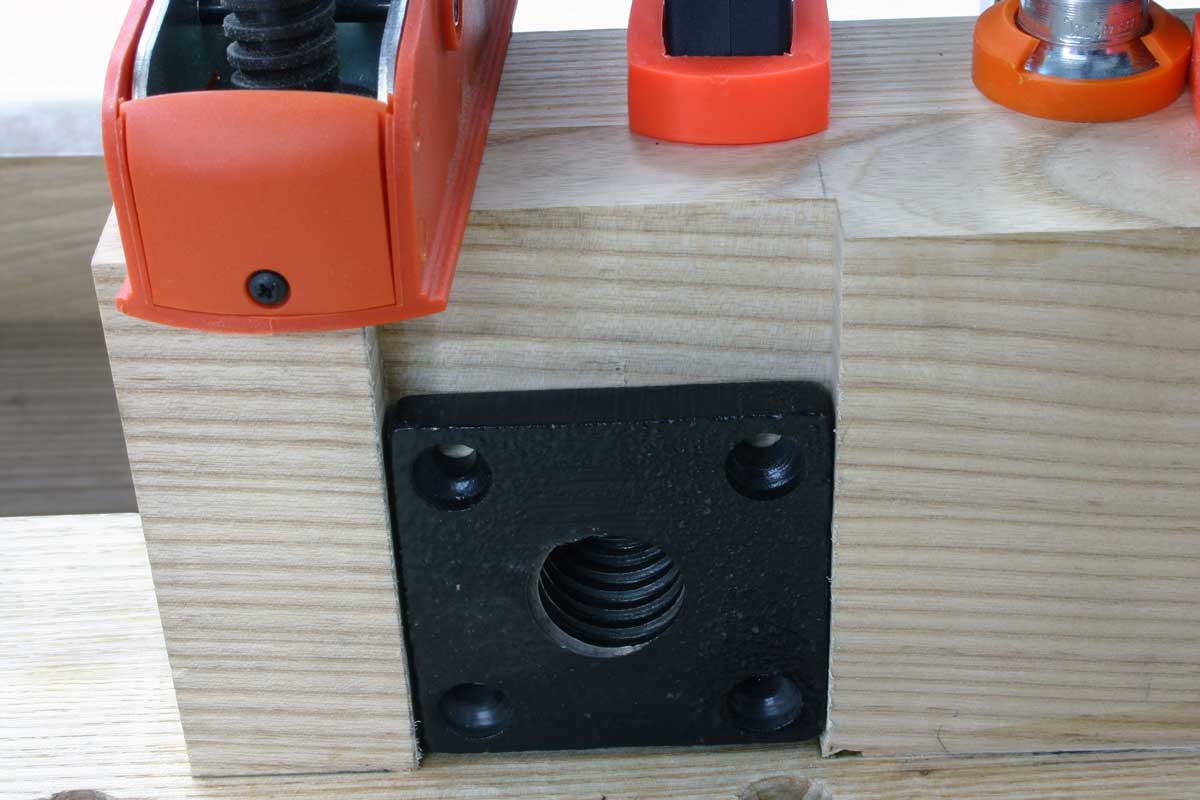
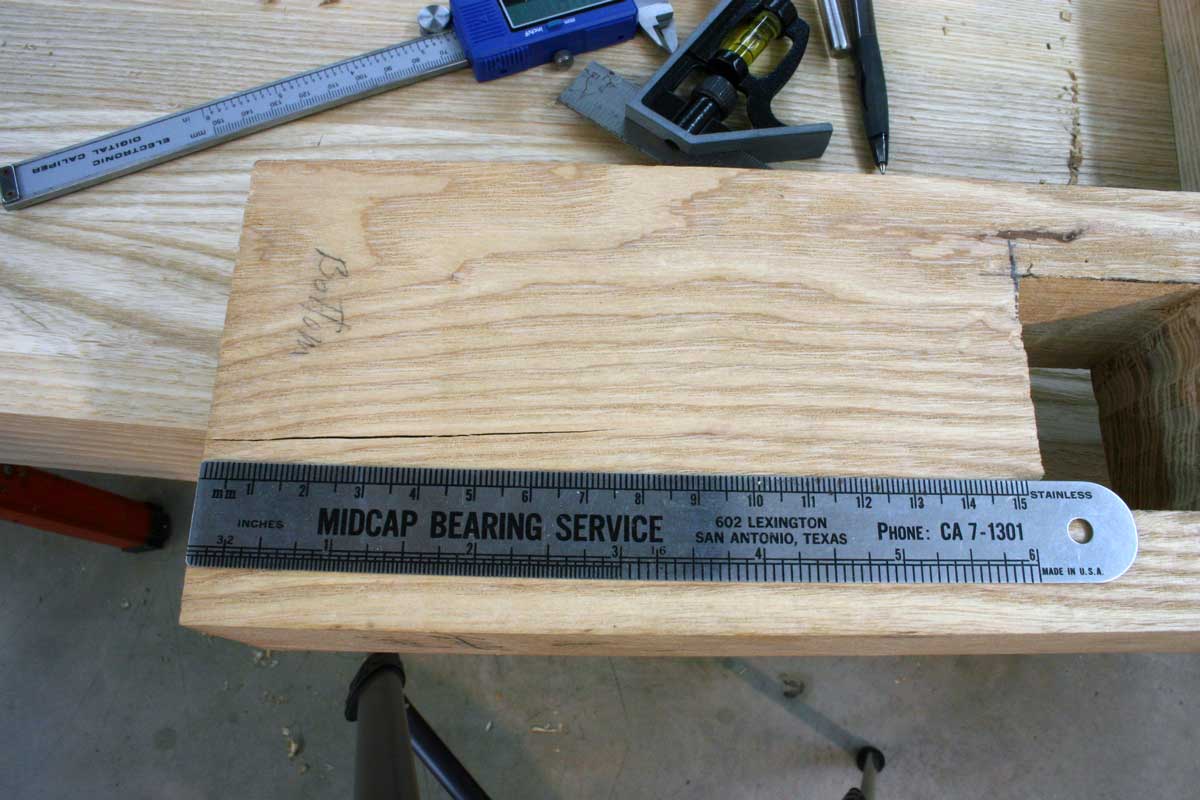
Face Vise Block Modification - I originally thought about bolting the face vise block to the bottom of the top laminates in order to keep the ability to run the tops through the planer for re-flattening, however with that likelihood being so low I decided to do a glue-up and decided to maximize the block for good measure. The thickness came in just over 3", just enough to miss the dog holes on the top. My thoughts on laminating this block include minimizing any future warping that might/could occur.
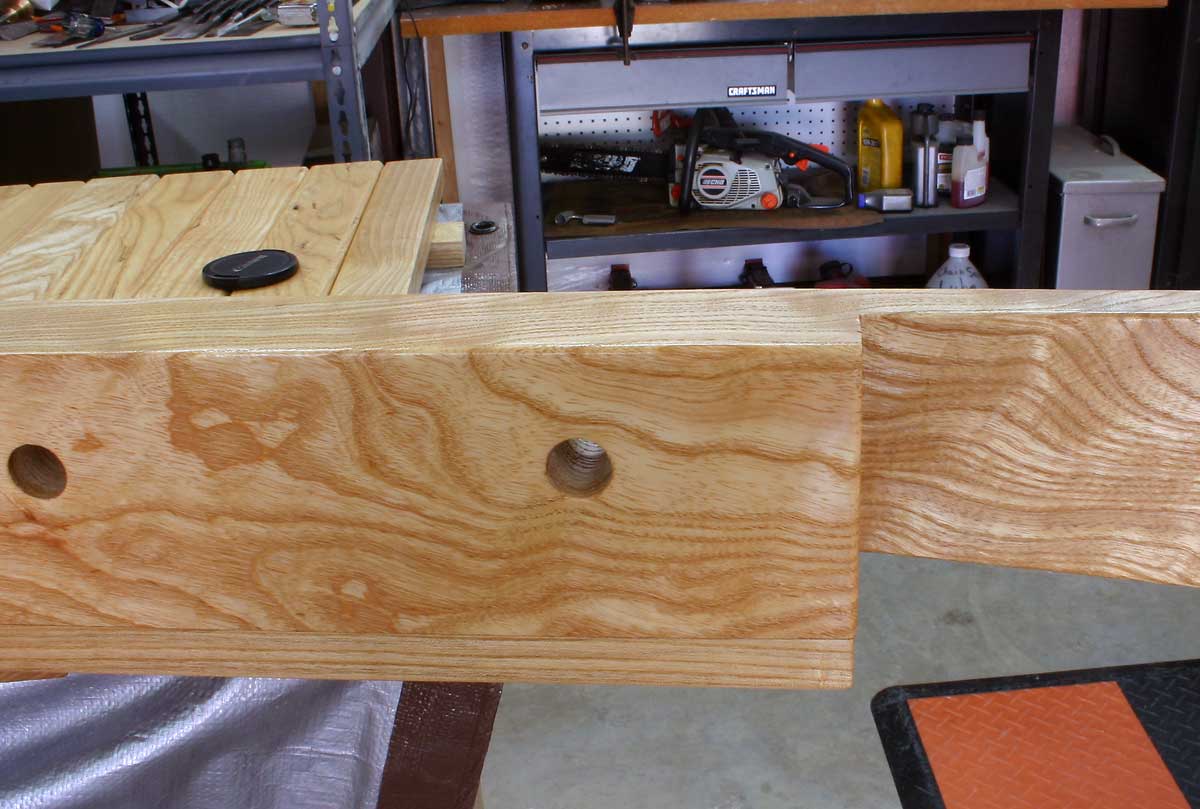
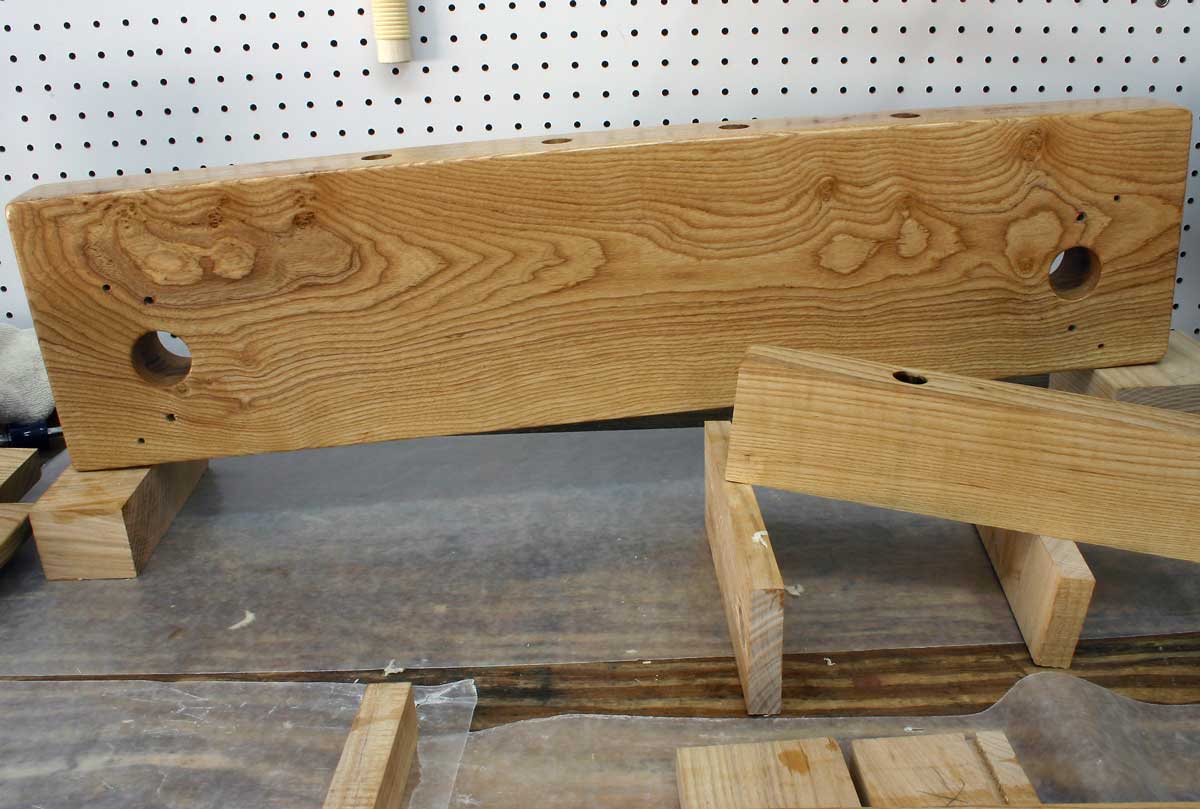
Lower Rail Cleats Modification - Instead of screwing a less-wide cleat to the bottom of the lower rails, I chose to go with a full width cleat and do a glue-up. This strengthens the cleat for holding loads (though not really needed) and enhances the appearance of the lower rails as a unified piece. IMO, the original cleat design seemed like an afterthought/add-on.
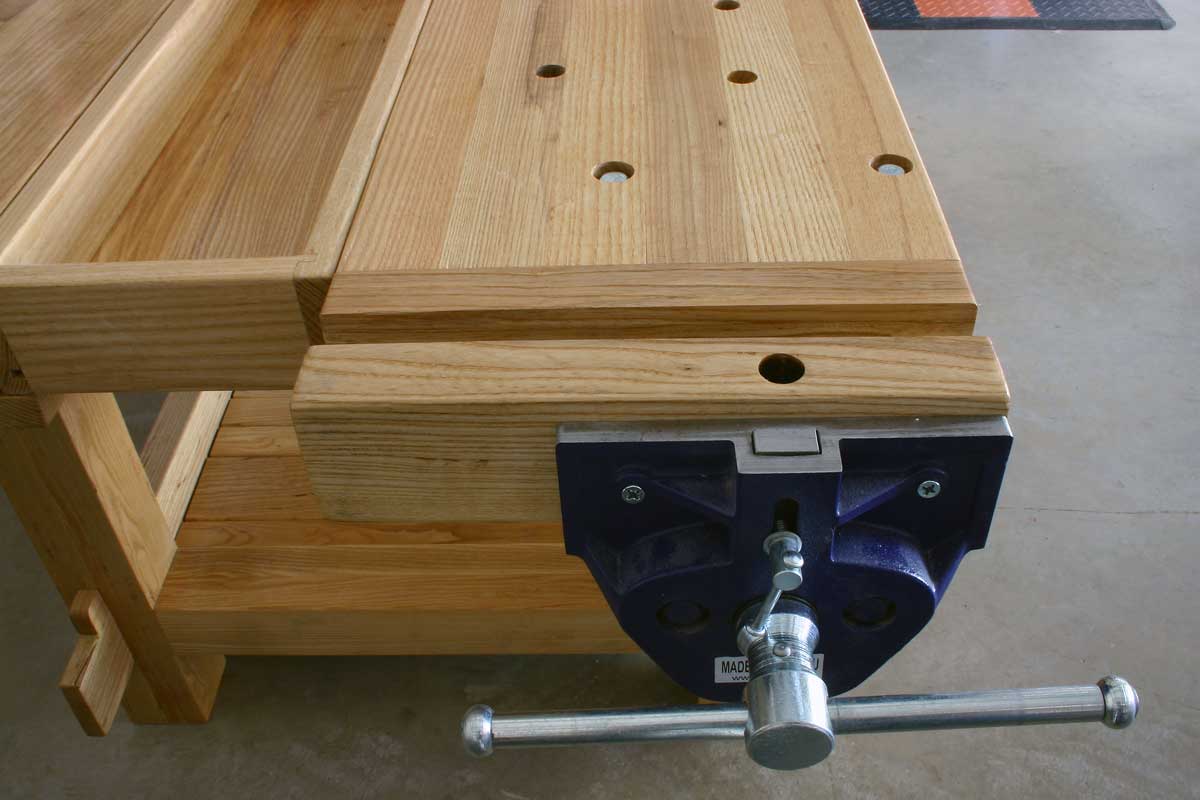
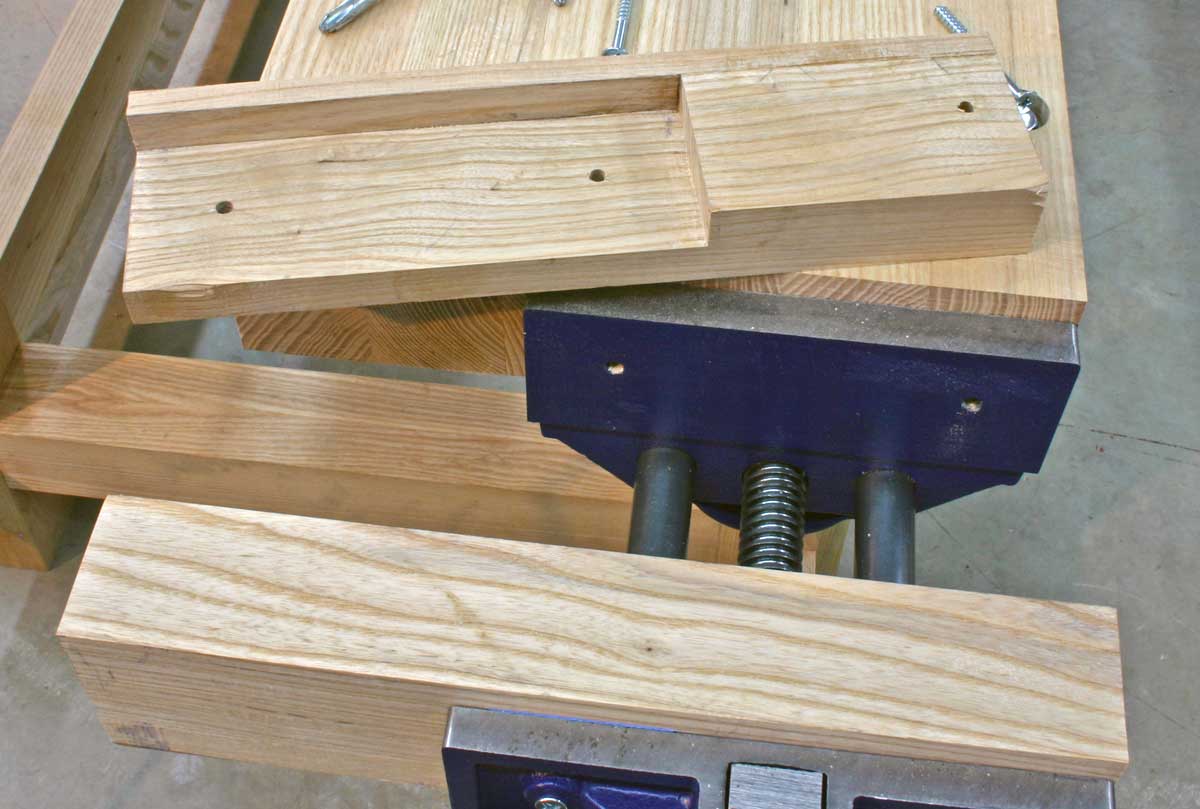
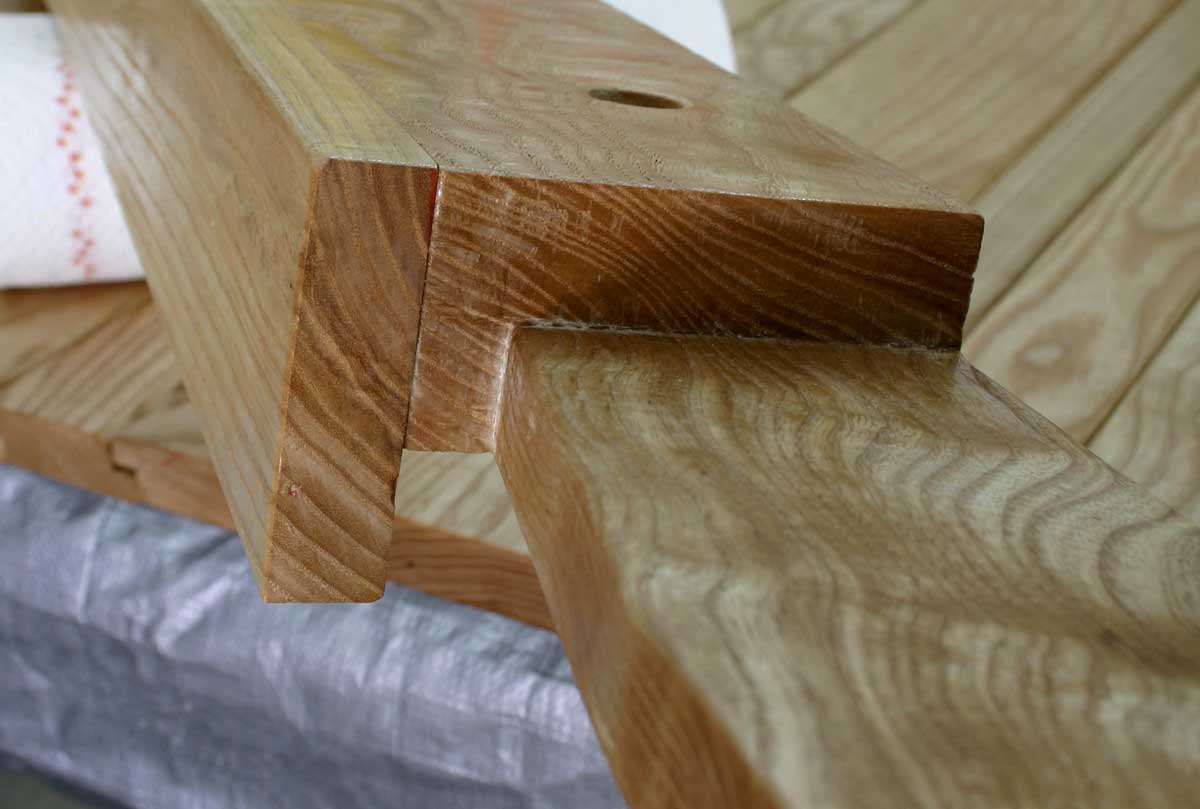
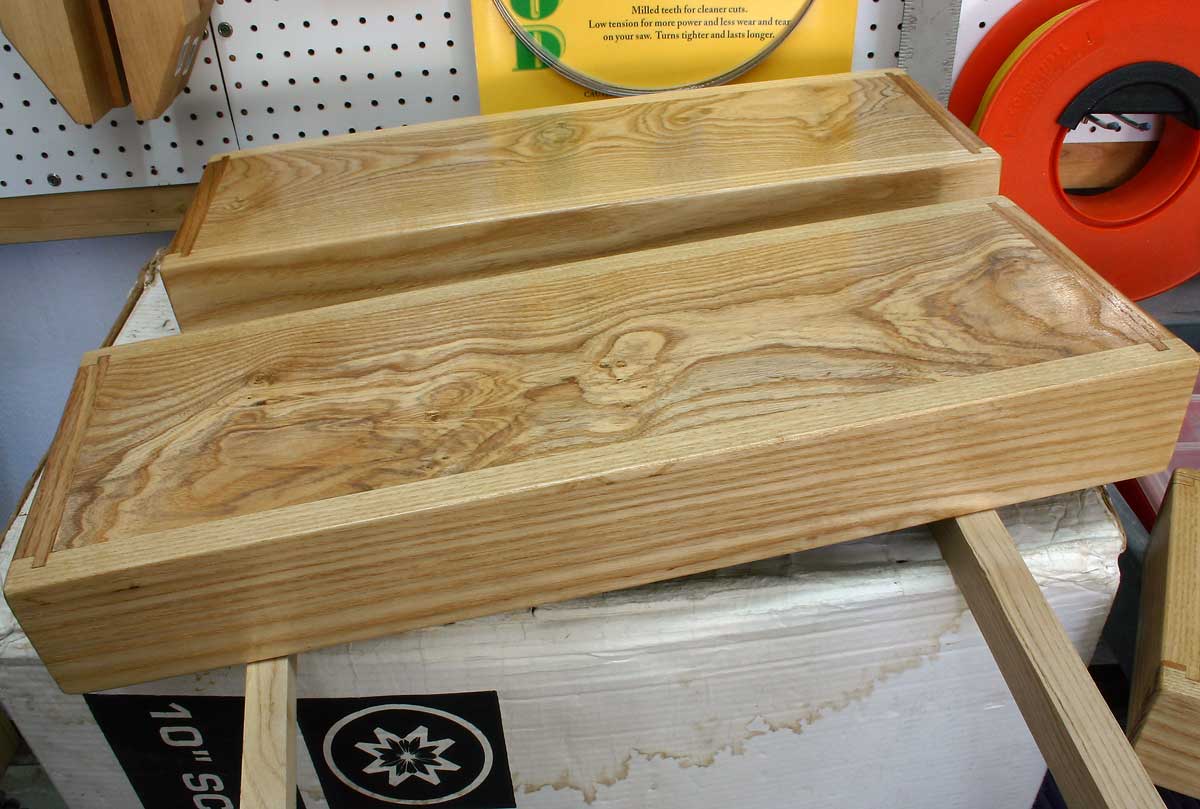
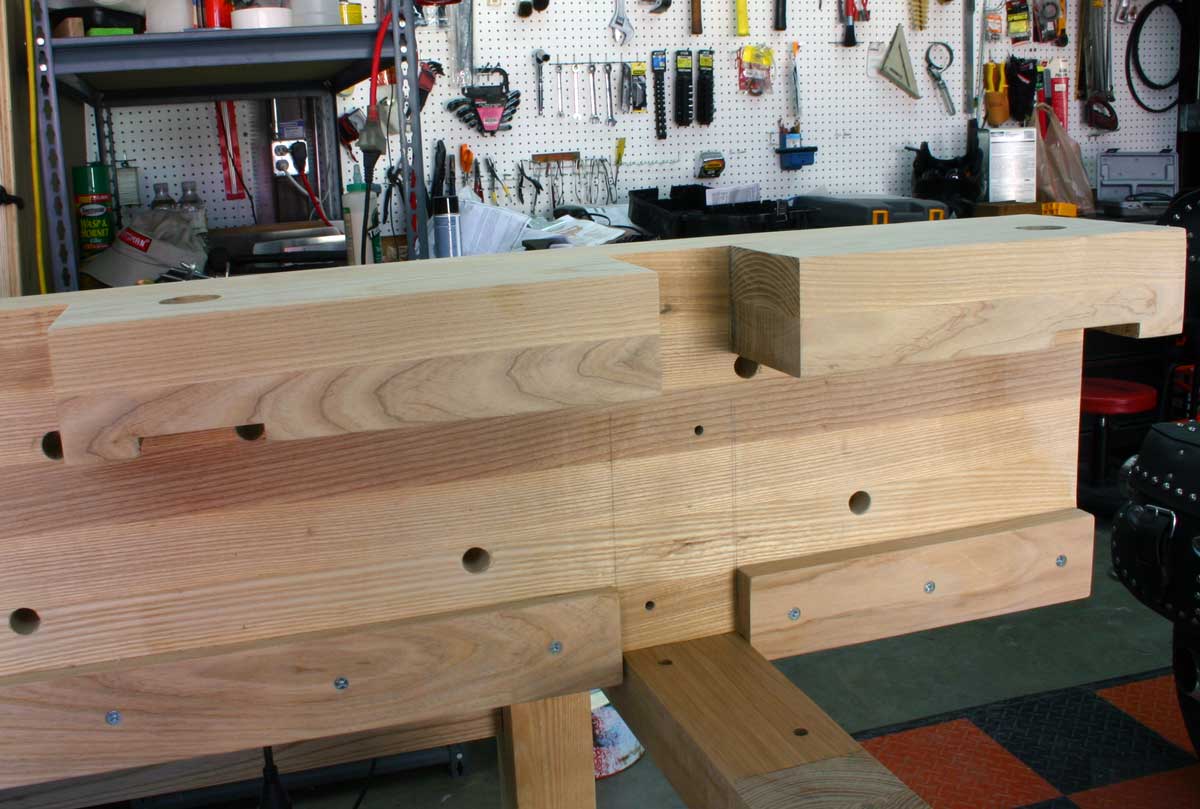
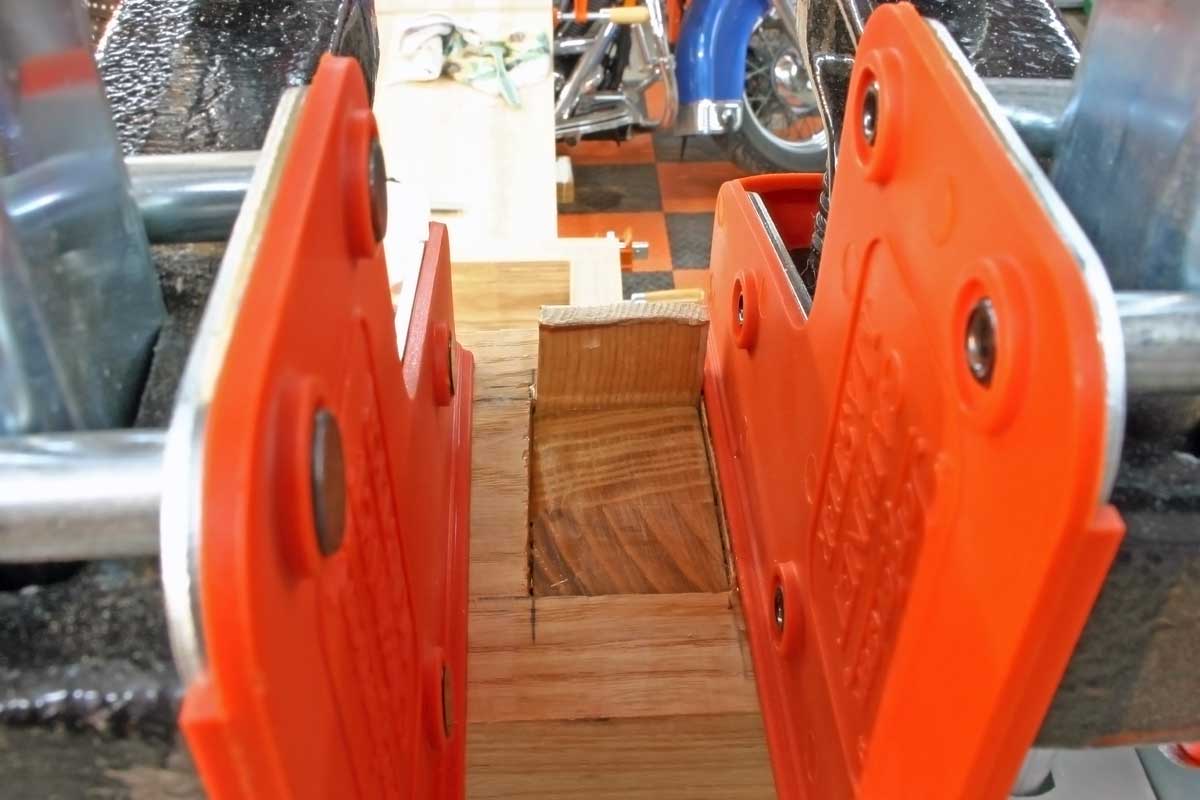
Tail Vise Block Cover Modification - I made this by laminating three pieces in order to avoid routing the end of the bench top. This is much easier to repair/replace if I damage the vise block from use, or if I decide to move the vise location in the future.
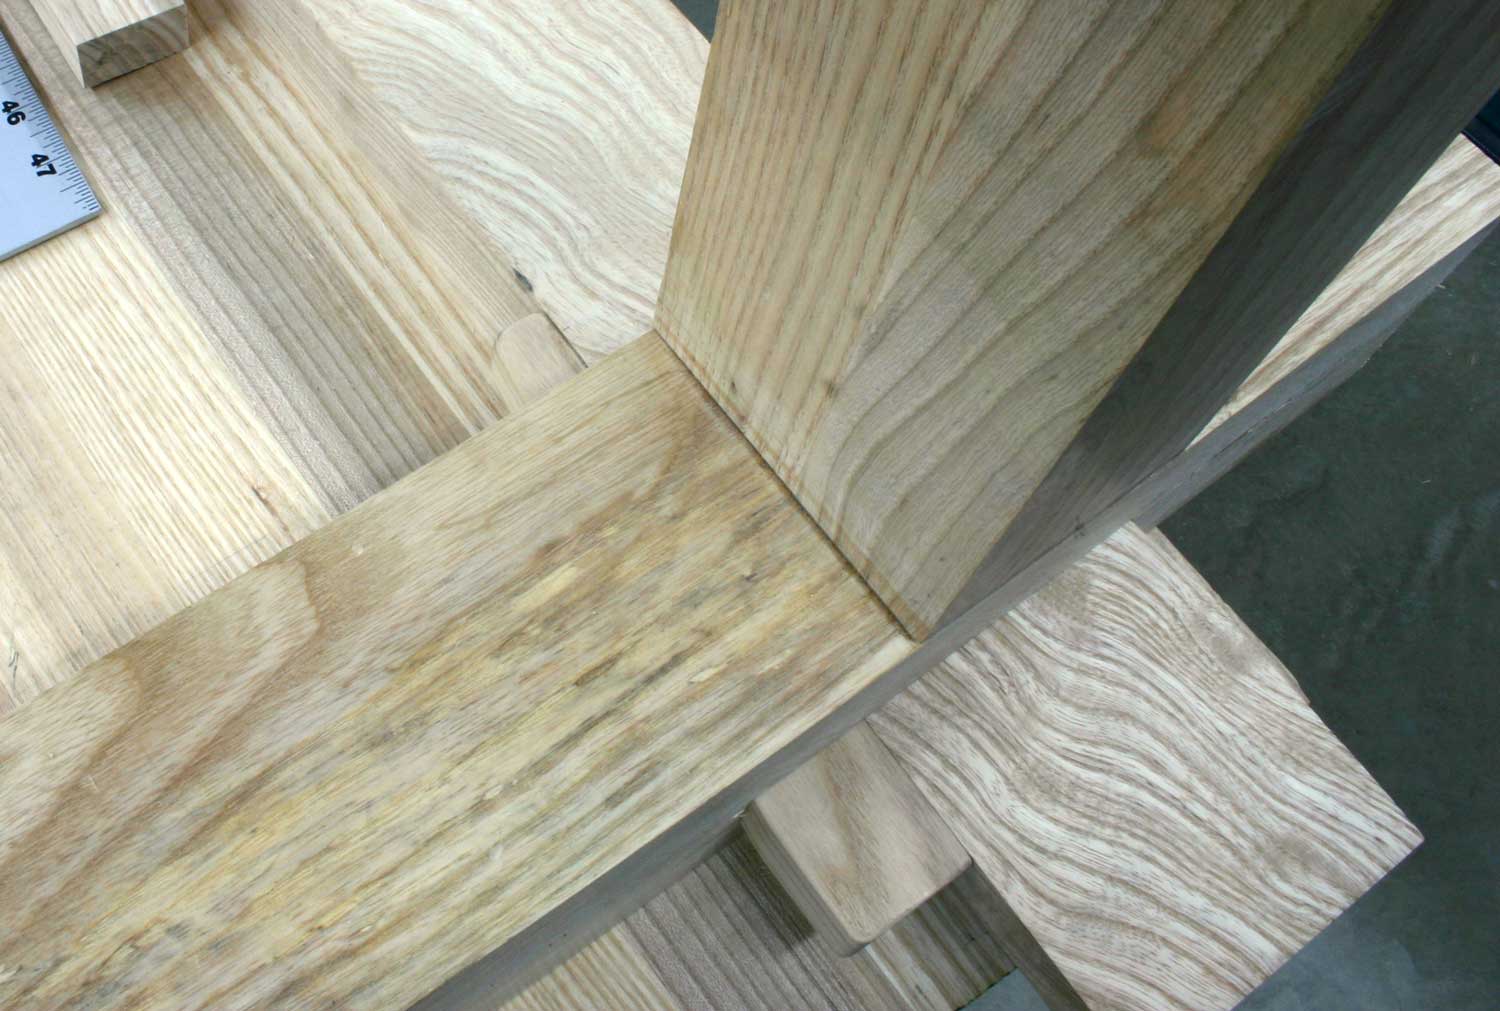
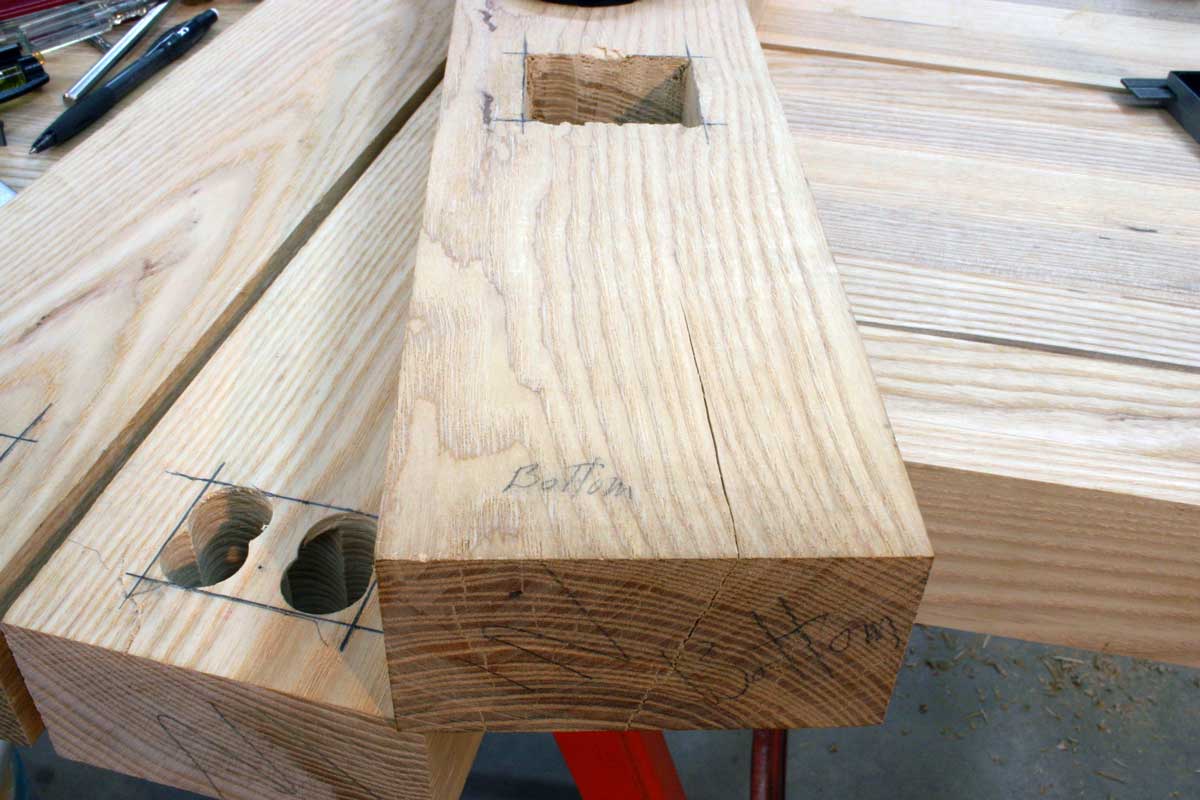
Inner Leg Mortise & Tenon Joints - I used just one wedge, as opposed to using two as per instructions. I don't believe that two wedges are any stronger than one, plus by using just one wedge I can better keep the alignment of the mortise & tenon.
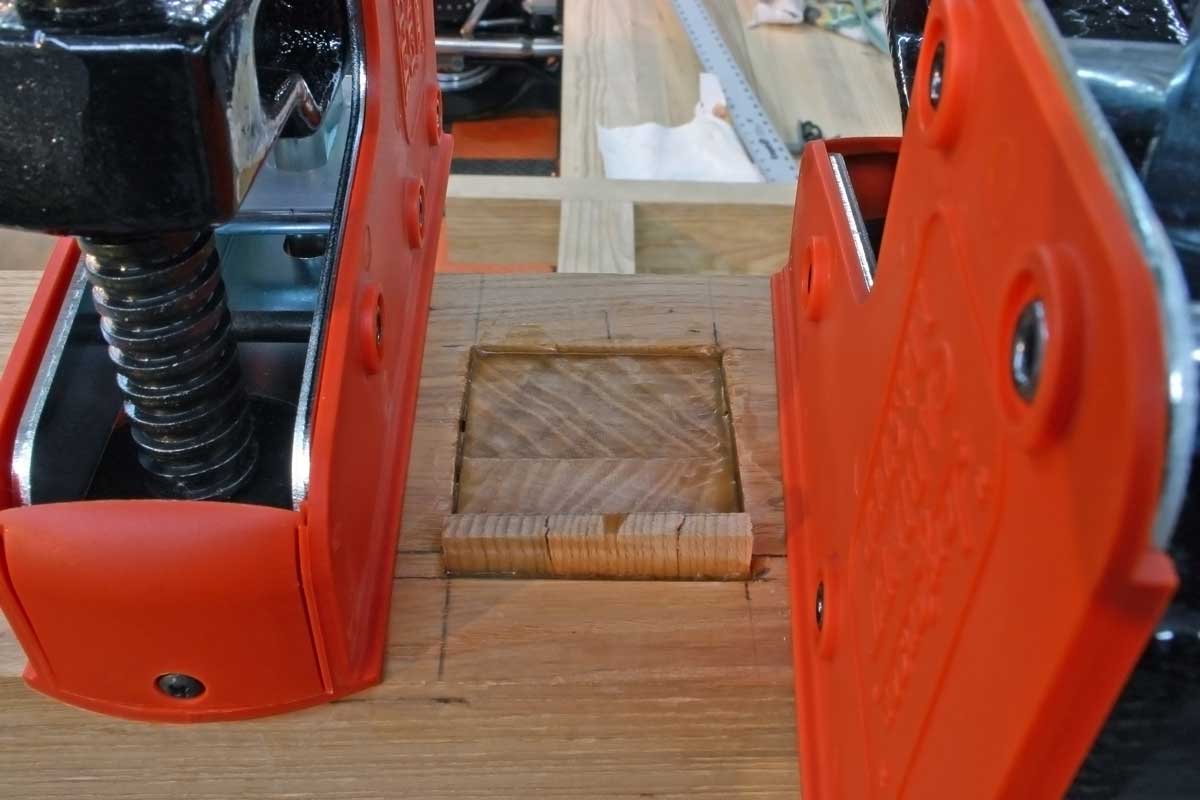
I discovered this crack while creating the mortises and now wonder how "best" to fix this before final assembly. At first I was contemplating "fixing" this, but after much thought I am leaving it and will try to shove some glue into the crack as I glue up the outer legs to this. The crack looks pretty tight and did not expand when hammering the wedge in place. I eventually chose to go ahead with using this piece as it was just half of the leg assembly and was located on the inside. This looks to be a minimal crack and if it does expand, I can always clamp it and glue a dowel through it.
|